Debby Epps, Mixed Media Artist
  • Home
  • Custom Commissions
  • Landscape & Watercolor Art
  • Vintage Art Gallery
  • GelliĀ® Print Gallery
  • Contact
  • Events & Shows
    • Blog

Monoprinting Mud-free with contrasting colors

7/26/2015

4 Comments

 
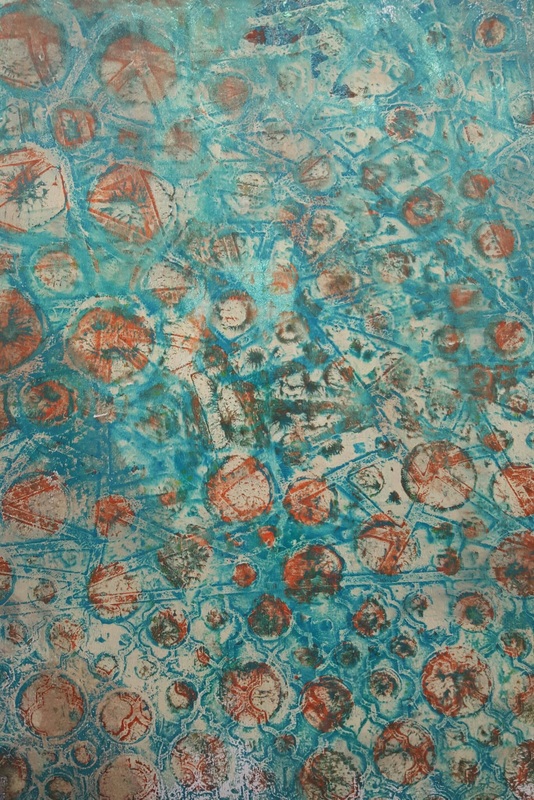
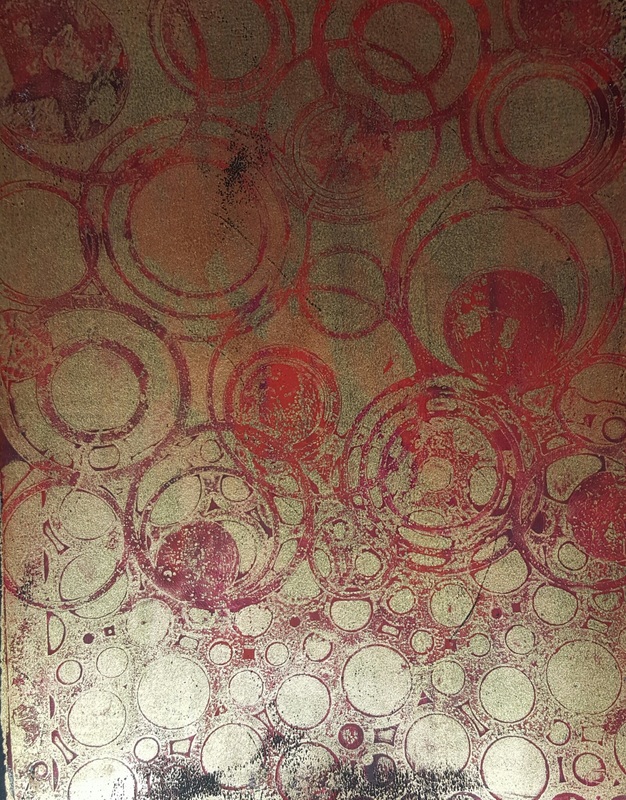
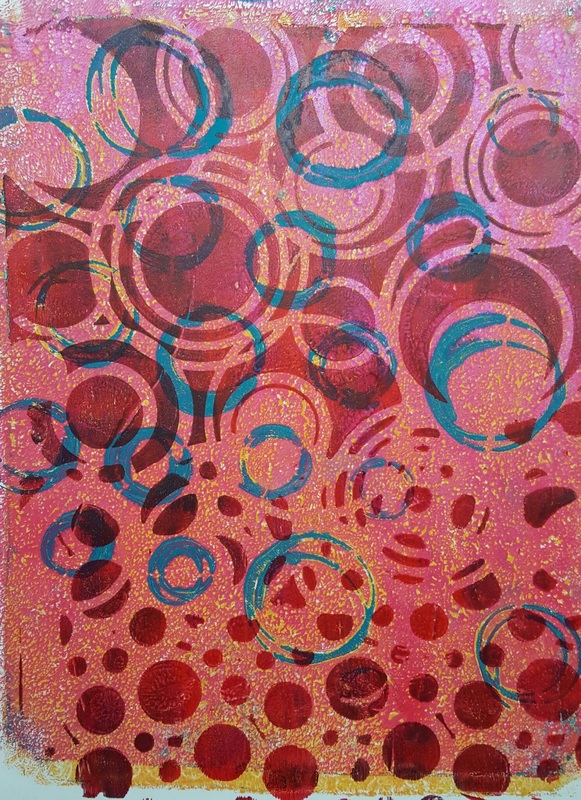
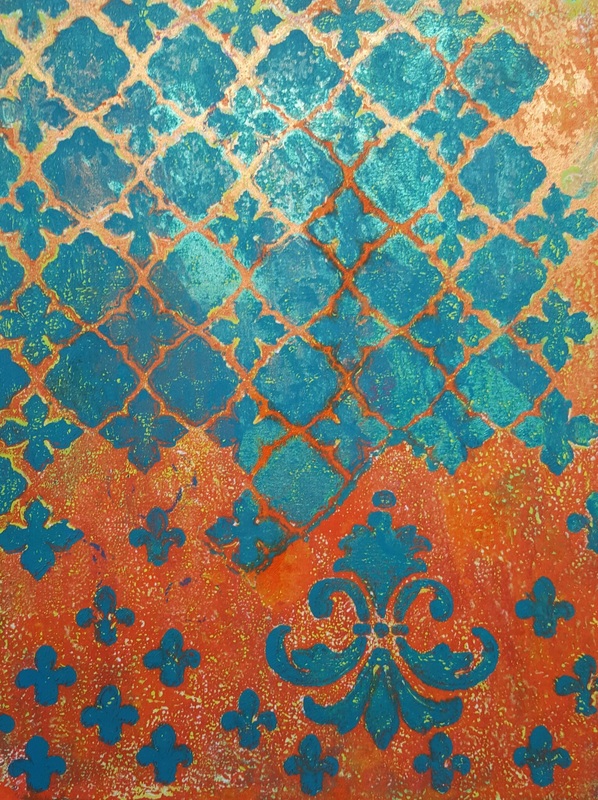
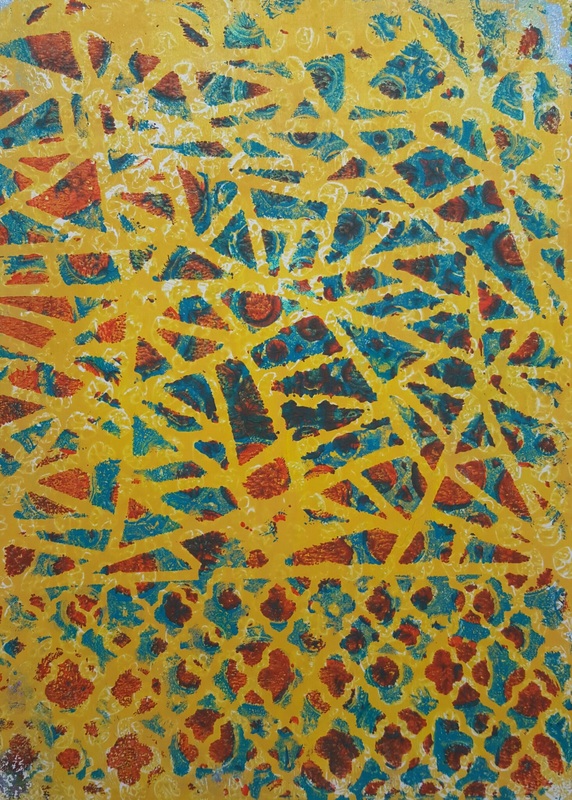
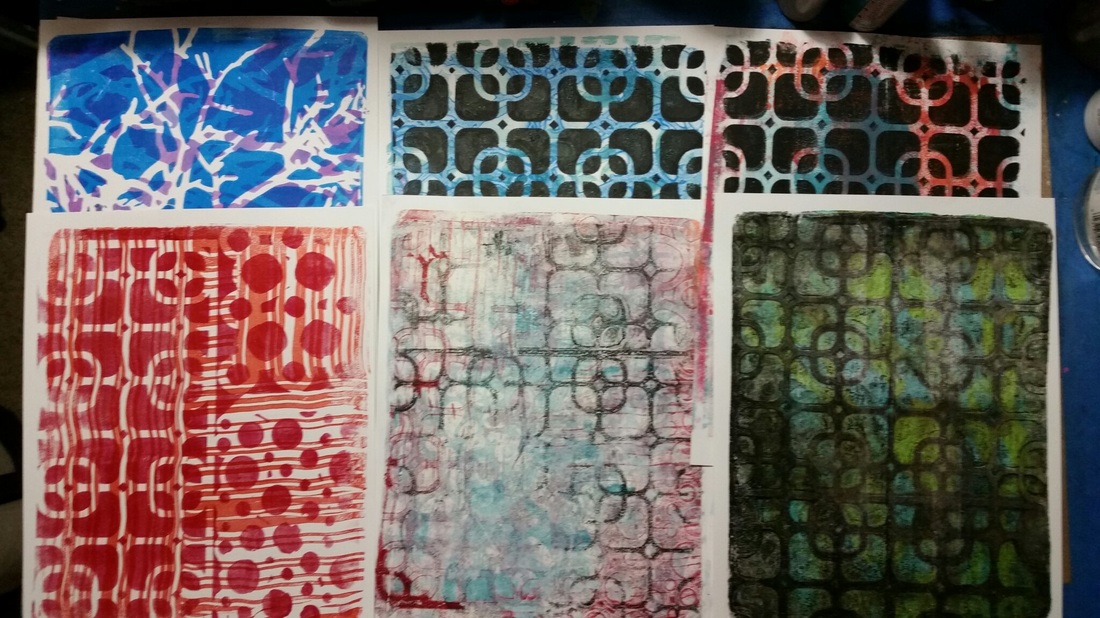
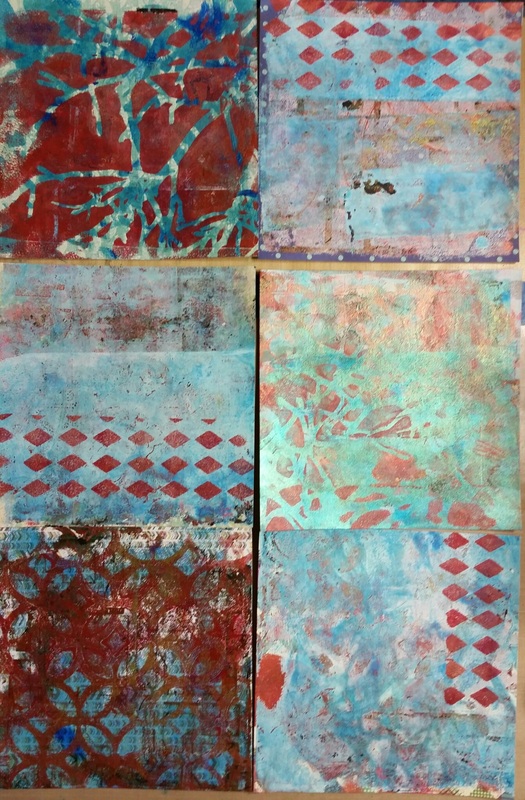
It is hard to get a pop of teal when monoprinting with orange or any complementary colors. Jean Pitts, known as the Mscscrapper, once recommended adding an additional metallic color on top of a stencil when making Patti Tolley Parrish's patina prints. I took that idea but used complementary colors over a base print.
Here is how I pulled this print:
1. pulled yellow print with bubble wrap texture, set aside to dry.
2. Rolled out teal paint & added stencils, pulled print on different paper to remove paint in stencil...keep stencil in place.
3. Brayered orange paint over the stencil (teal is still underneath) then removed the stencil and replaced with a different stencil pulling a print on the dry yellow base print.
4. Pulled a clean up print using Titan buff
Picture
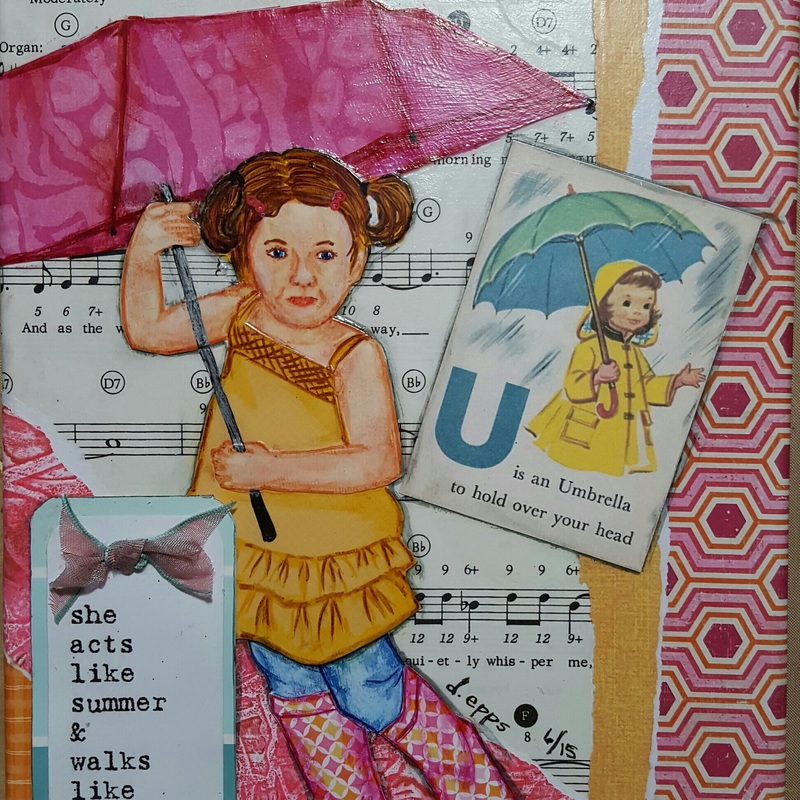
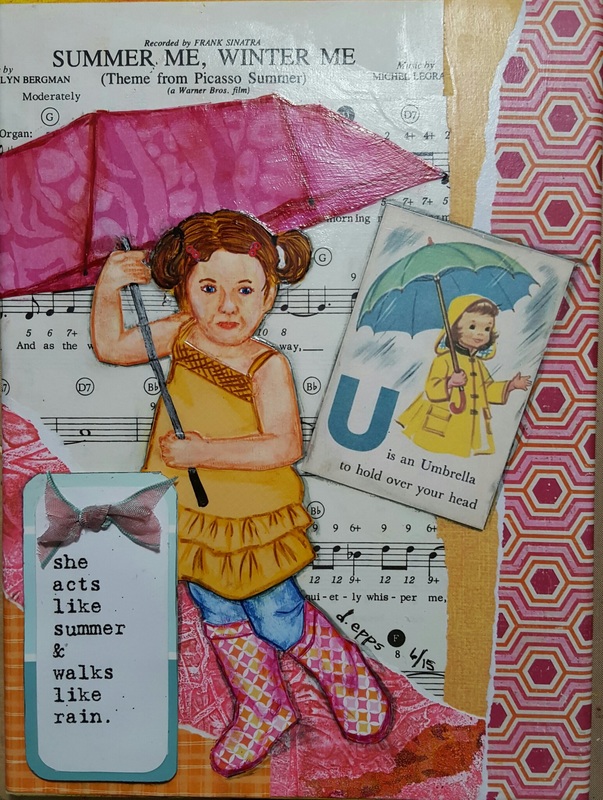
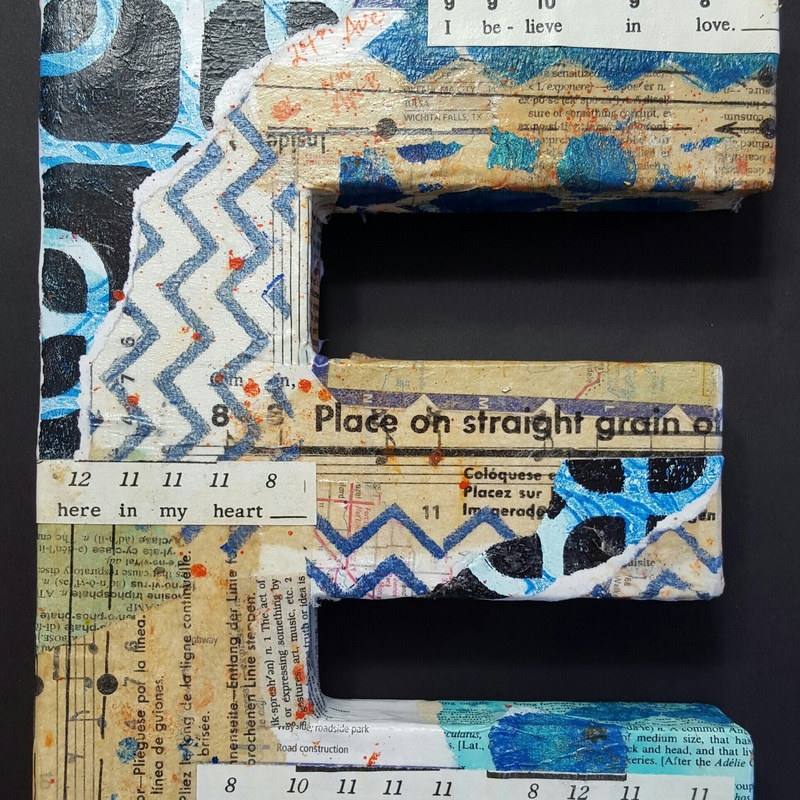
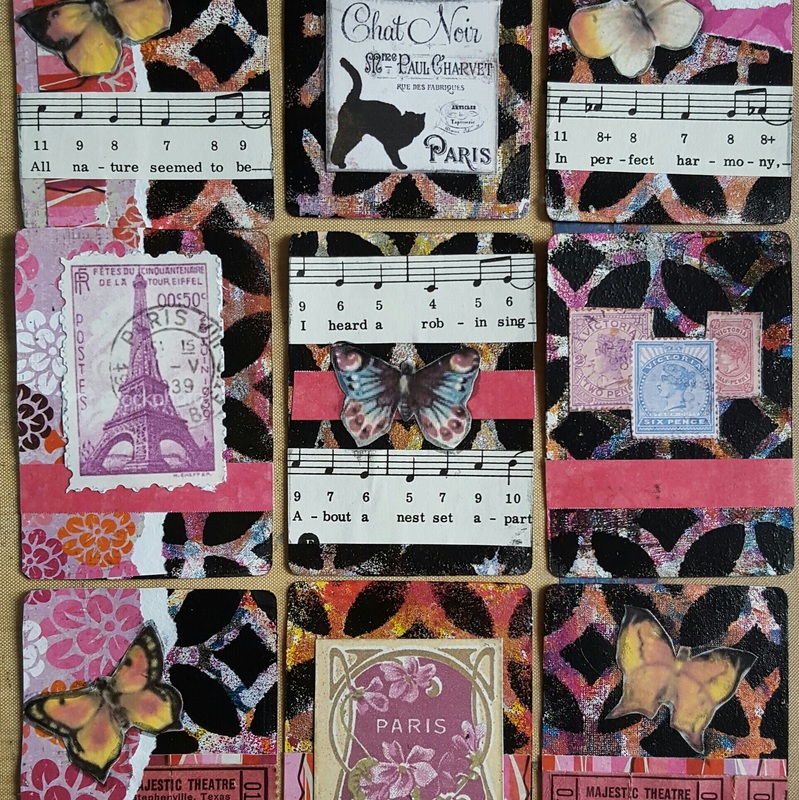
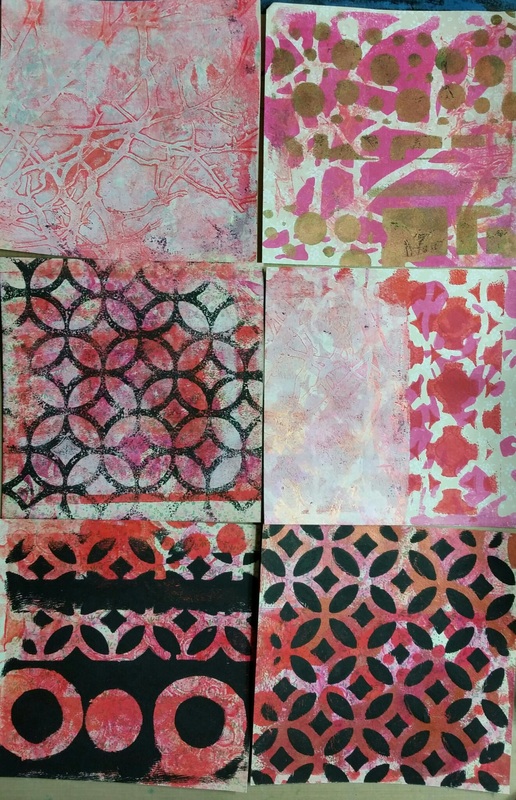
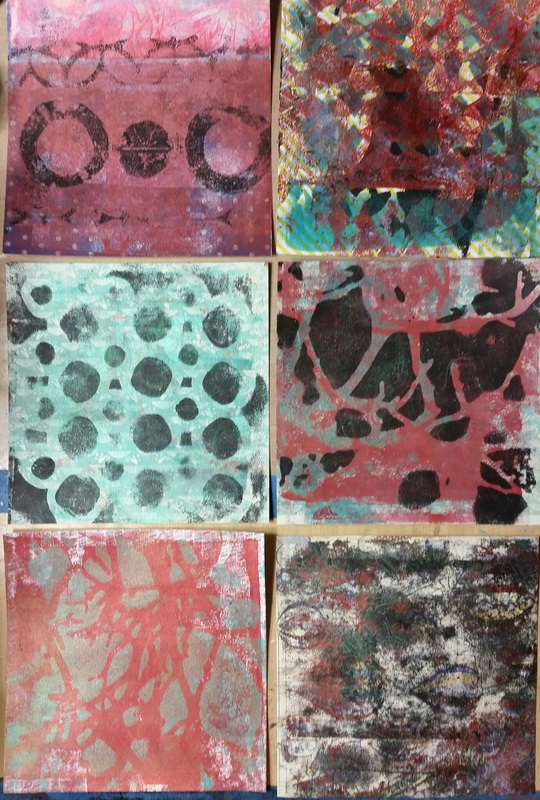
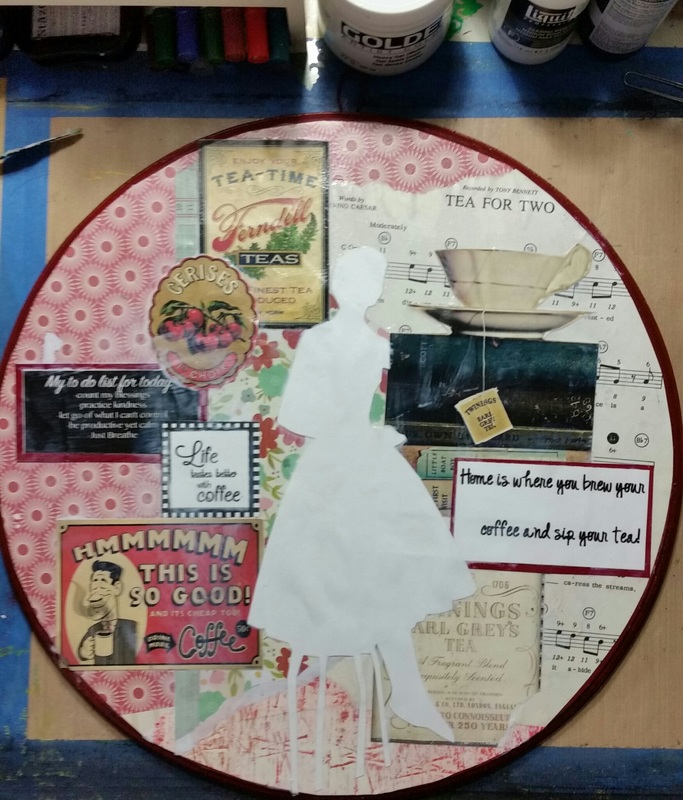
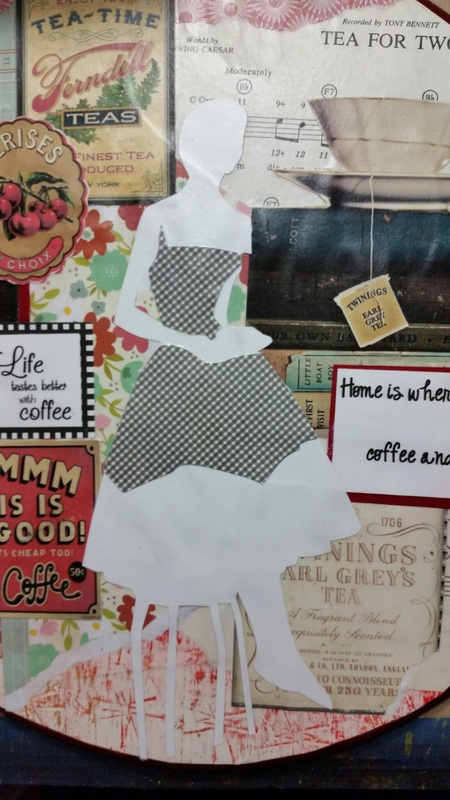
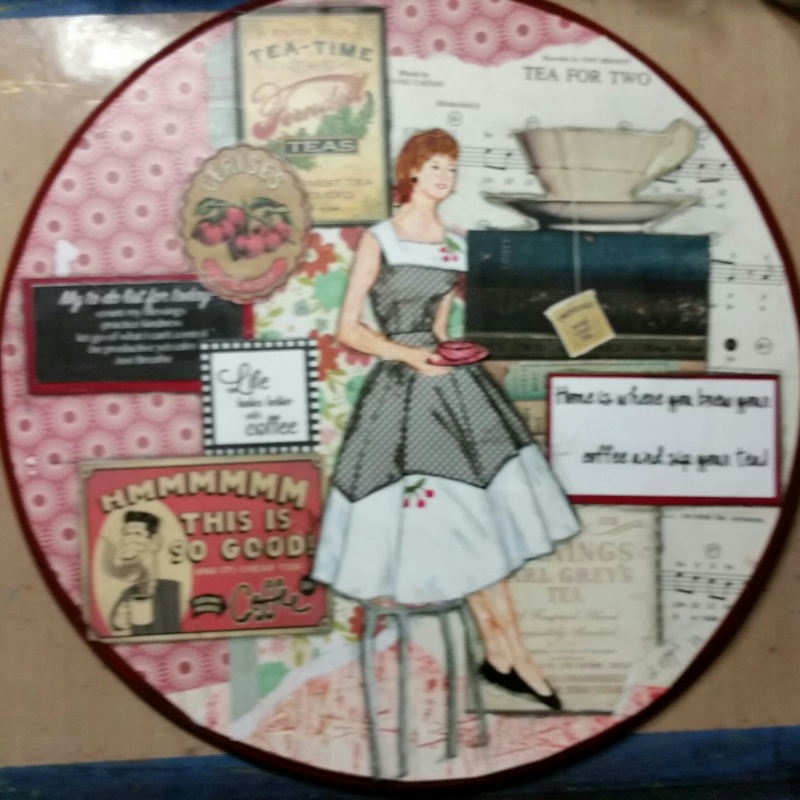
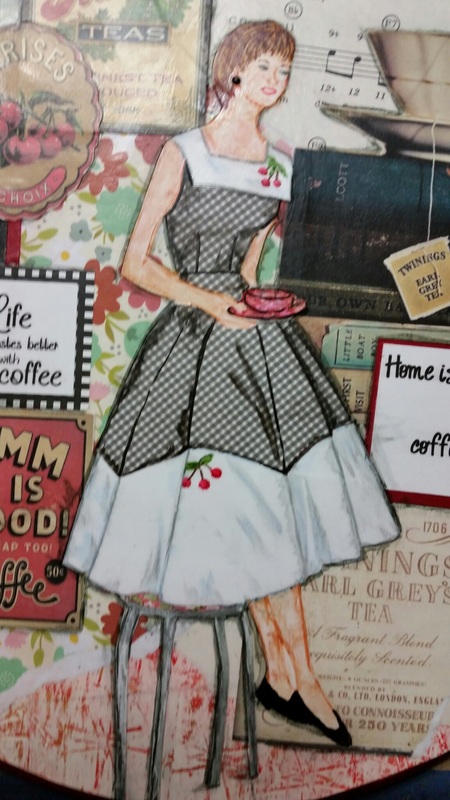
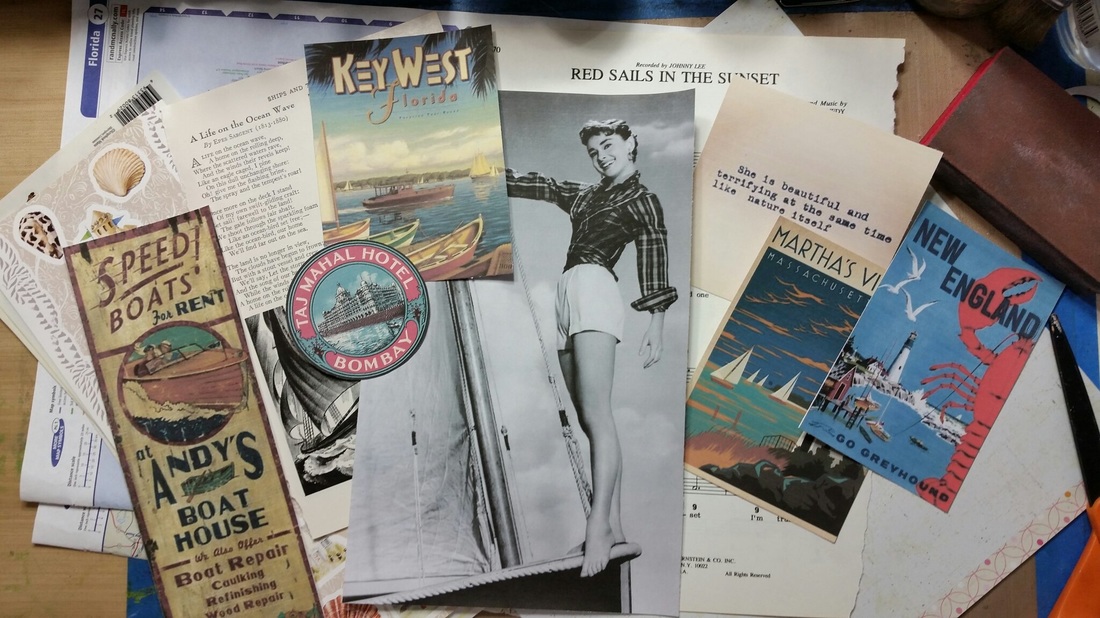
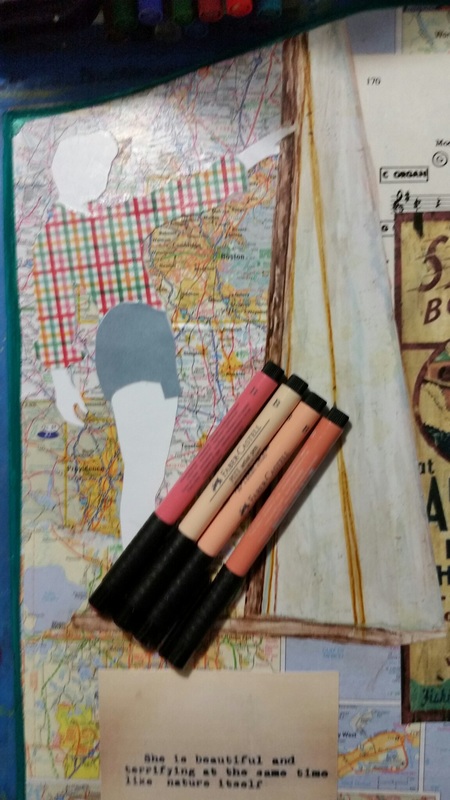
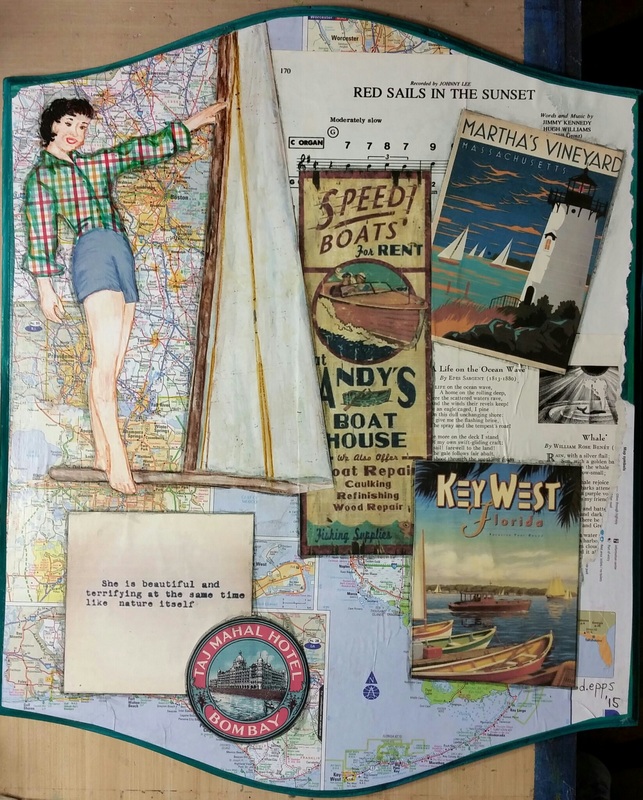
Here are a few more examples:
Picture
Picture
Picture
Picture
Picture
4 Comments

The Art Of Summer Love

7/24/2015

4 Comments

 
Well, #lovesummerart has been fun, educational and a success.  The biggest reward was the ability to network with other youtube artist and building relationships with new artist. Especially the Facebook group for collaborators has been beneficial.

I was able to put out 5 new videos, Bing watch great videos all weekend long and grow my channel. It is hard to believe that I have almost 1,000 subscribers! I plan on organizing my first giveaway  and I have been focused on improving my video production and channel appearance.

I have also used the freedom of no commitments this summer to enjoy UStream and enjoying the chat. Thanks Paula Phillips, Journalartista  (Wed & Sat 8 pm), Zandra's Scraps to Beauty (Wed & Sun at 8 pm), Mscscrap Jean Pitts on Mon, and Patti Tolley Parrish along with several others. Thanks for the fellowship my friends.
Monoprinting playcards for pocket letter & ATC giveaways and exploring interference paints from DecoArt.
Using recent monoprinted background papers and napkins to create wall decor project and a new canvas inspired by the summer theme.
As summer comes quickly to a close and school begins, I am determined to keep blogging, creating content for my channel and signing in to my art friends live USTREAM shows when ever possible.

ps...I am saving for the HotmessARTgang retreat next year so I can meet some of my art friends for real!
Picture
Picture
Picture
Picture
Picture
4 Comments

#lovesummerart Movement

7/5/2015

5 Comments

 
In about 2 weeks, a group of artistic YouTube creators have been invited by Secret Soto and The Art Sherpa to upload art videos on July 17-20th using #lovesummerart in the title and tags.  The goal is to make this a monthly activity with different themed hashtags and bring the YouTube art community to the forefront like other communities on YouTube.

I plan on participating in two ways: one by uploading new videos using the #lovesummerart during July 17th-20th, and two by WATCHING YouTube videos that come up using #lovesummerart.

Hopefully, this will gain our community more views hip and it will help connect or network more artist.

So, I would like to ask that my art friends who make videos consider participating and that all of you support the movement by searching #lovesummerart July 17th-20th to watch several of the videos that make our art community so great!
5 Comments

Final Ugly Scrapbook papers done!

6/25/2015

0 Comments

 
I recorded the first set that I used embellishments I made on tissue and napkins.  On the second set, I found several vintage photos and quotes to use along with some accent scrapbook papers; however since there was no techniques just glued together, I did not record.
0 Comments

Painting Faces

6/25/2015

0 Comments

 
After watching Journal Artista, or Paula Phillips, demonstrate and review Pam Carriker ' s Mixed Media Faces book, I decided to give it a try.  I order Neo II Watercolor Crayons and picked up some graphite tracing paper.

Step one was finding a reference photo or drawing to trace main features onto tracing paper. 

Step two is to use the graphite tracing paper to lightly transfer your drawing to the watercolor paper. I generally spray it with water and stretch overnight at this point.
Picture
Step three is the process of using the Neo II colors to lay in the shadows using ultramarine blue using water to blend and setting with liguid gel medium.
Picture
Picture
After heat setting, I added a layer of white all over the face immediately going back into the shadows with Ocre blending out with water, then gel medium. I repeated this process using the white again and scarlet in the highlighted areas of the face.
Picture
I added in a base layer to the knit cap and sweater (brown & scarlet) before coating the entire drawing with mod podge.
Picture
I used Faber-Castell Pitt Markers over the gel medium to add shadows and more depth to her face, clothing and background finally coating with a final layer of Mod podge.
Picture
0 Comments

A Moment of Panic

6/17/2015

8 Comments

 
I was preparing last minute for a local art show and ready to monoprint several backgrounds for cards. I have all my quotes printed and focal images ready...the time consuming part or so I thought.
Picture
I even made a pocket to protect the back/inside of the cards from stray paint. I folded a piece of cardstock and taped both sides with washi tape to create the pocket.
Picture
I had the camera ready to record and my plate out. I was ready to go...or so I thought. I couldn't get more than one pull off my 8x10 plate because the paints were drying way to fast. These are paints I use repeatedly without any issues, even the Golden Opens were not staying wet enough. I tried cleaning my plate, but no luck. I stopped recording out of total frustration. Eventually, I switched to my 3x5 and round plates which worked like normal but the size was limited.
Picture
After the weekend and art show were over, I began to investigate the problem. I discovered a break in the clamp shell packaging. On the Gelli Arts® manufacturer's website FAQ, I saw a recommendation to clean with mineral oil or baby oil. I immediately got busy putting a layer of oil across the top and letting it sit. I repeated this about 3 times on top and once on the bottom. I let it sit for an hour then rinsed with just water, lightly dried with paper towels and placed back in the repaired case (I put duck tape on outside and inside to keep it air tight again)
It worked! Here are the most recent prints I pulled.
Picture
8 Comments

Ugly Scrapbook papers?

6/9/2015

10 Comments

 
Everytime I buy a large pad of scrapbook papers, there are always a few papers that just don't appeal to me. Perhaps, just ugly!

This week I decided to use my Gelli Arts® plate to change them up into something I would use or small abstract art pieces. Most of the papers I pulled out of my stash were 6" x 6" and chose the prints or patterns that didn't appeal to me.
Picture
I started with the light backgrounds and worked in pink/red tones then added copper or black accents.
Picture
I switched to teal and lime green with copper accents next.
Picture
Picture
On several I added multiple layers and the original background is completely covered and others show through slightly. I used black/copper or black/silver on a few clean up prints. I grouped them in sets of six.  The next step will be to use these as a base for four abstract series. *permission to use the Gelli® or Gelli Arts® trademark, which is owned by Gelli Arts® LLC


Picture
10 Comments

Upcycling additional sign

6/6/2015

5 Comments

 
The second sign I purchased was round. Once again, I looked through my  pintrest boards to find a theme. I wanted a figure that would lend itself to the curved edges.
Picture
A fifties housewife with gingham/cherries dress relaxed & drinking coffee inspired me. I found several vintage coffee/tea ephemera and quotes. I knew immediately that my accent color needed to be red! I pulled a few scrapbook papers to use in the background along with some larger cream ephemera.  I painted the edges red.
Picture
I designed my layout and used Goldens Heavy Gel Medium to adhere all my layers
Picture
I added a layer of Mod podge then set it aside to dry.
Picture
I added the gingham pattern to the dress and coated with mod podge again.
Picture
I used Faber-Castell Pitt Markers to paint in the details and added drop shadows throughout.
Picture
Picture
5 Comments

Upcycling Sign Art

6/6/2015

0 Comments

 
This week's project and video is to up cycle an old decorative sign. I looked on pintrest to find some vintage ephemera and a subject. Once I had a them, I pulled some old map, music and encyclopedia papers to use as a base for the background.

Picture
I added dark turquoise, a medium value and a touch of Blue-green iridescent Pebeo paint along the edges after I lightly sanded the surface.
Picture
Once dried, I began designing my layout. I started with my map papers, making sure to crease the curved edges, and the the music paper. I wanted the title to be visable. After cutting out the reference photo in white cardstock and patterned scrapbook paper for the sail, I placed all the ephemera.
Picture
I used Mod Podge to adhere my background papers and worked my way to the top layers adding a final layer of Mod podge setting it aside to dry.
Picture
The final step is using Faber Castell Pitt Markers over the dried Mod Podge to paint the sail. I added a plaid shirt and denim shorts.
Picture
Picture
0 Comments

Summer Off...New Art Projects

6/3/2015

1 Comment

 
Picture
As school ends, I am looking forward to having time to focus solely on my art.  I started by gifting all my students a Gelli® print instead of purchasing candy for their awards ceremony.  I am happy to say that they were a big hit with both students and parents alike.  

Additionally, I decide to offer a 50% off coupon in my Etsy shop (www.etsy.com/shop/debbyepps) Coupon Code: Summersale for the remainder of the summer to help clear out my inventory, giving me room to make more art!  I am planning on joining Fine Art America (http://fineartamerica.com) which will allow me to use digital photos of my original work to sell prints, canvases, and other items without risking the production & carrying cost of having inventory.  They set a base price and you add your mark-up, and they handle all the shipping too!  I am excited about seeing where this and sites like Society6, similar to Fine Art America, can take my art journy.

I have purchased a few of the round Gelli Arts® plates to add to my collection.  My Gelli Arts® plate has by far been the best art supply/tool that I have ever purchased.  I recommend that you get one asap!  I never get bored with the possibilities with monoprinting and developing additional stencils.  I know that I have barely scratched the surface of stencil making and what my Silhouette Cameo® can do.  

I also have some more re-hab decor projects to work on this summer, which I will video and blog in the near future!

*permission to use the Gelli® or Gelli Arts® trademark, which is owned by Gelli Arts® LLC

1 Comment
<<Previous

    Archives

    July 2015
    June 2015
    May 2015
    October 2014
    September 2014
    August 2014
    July 2014
    June 2014
    May 2014
    April 2014
    March 2014
    February 2014
    January 2014
    December 2013
    November 2013
    October 2013

    Categories

    All

    Enter your email address:

    Delivered by FeedBurner

    RSS Feed

Powered by Create your own unique website with customizable templates.