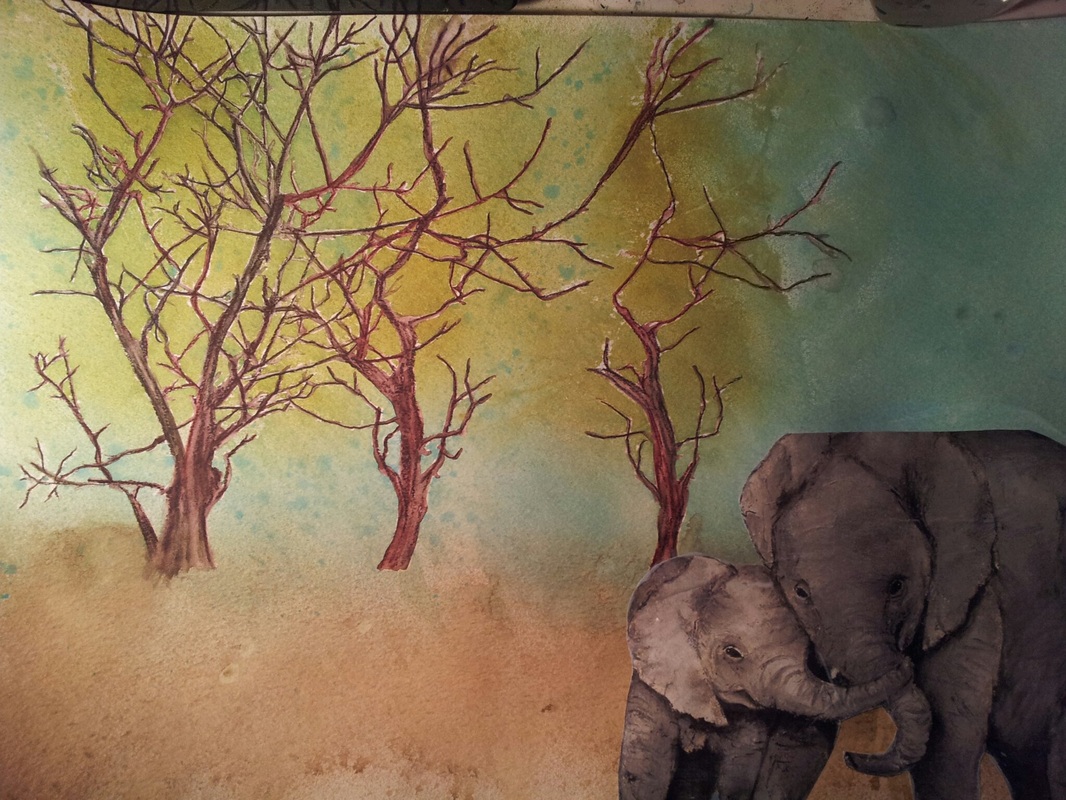
After a busy week promoting my 50% off sale and managing my first sale on Esty, I needed to work on a project that was easy and quick. Recently I saw a journal page posted by Tracy Weinzapfel Burgos that I loved for it's use of black and simplicity.
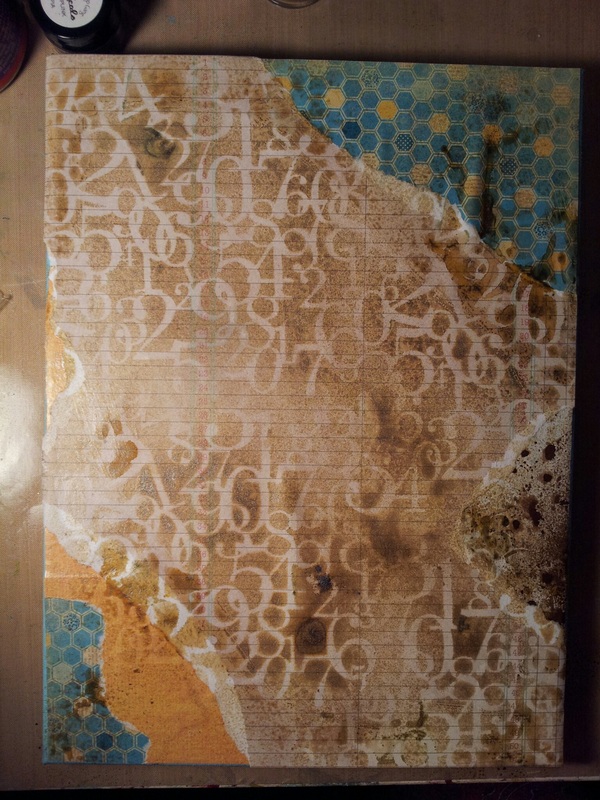
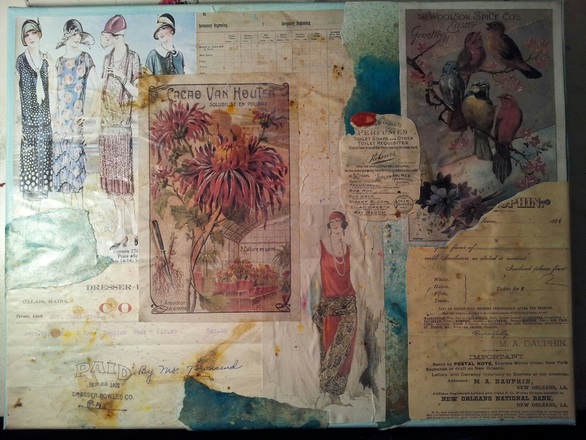
I decided that I would paint my canvas black and pull several pattern papers that were black. I found several that I set to the side. I found a red paper with black script and decided that would be my color pop. Next, I layed out the paper discarding those that did not work.
I decided that I would paint my canvas black and pull several pattern papers that were black. I found several that I set to the side. I found a red paper with black script and decided that would be my color pop. Next, I layed out the paper discarding those that did not work.
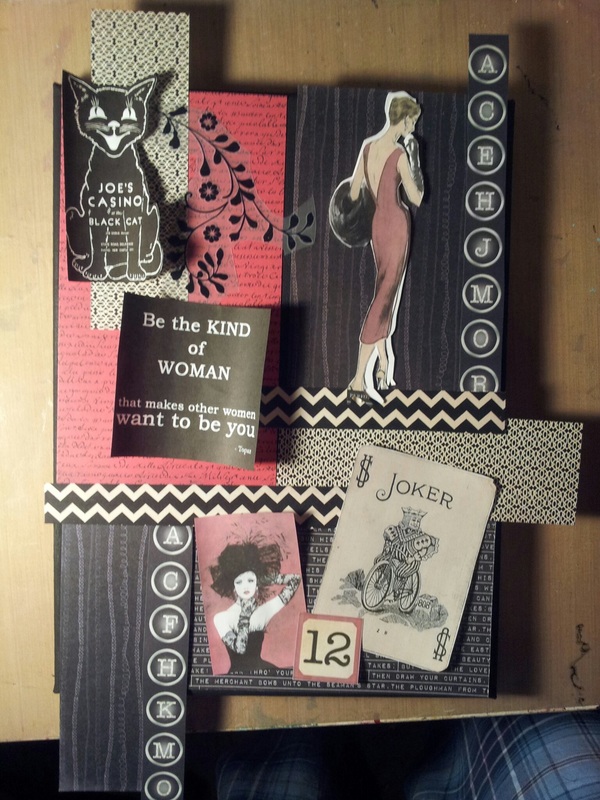
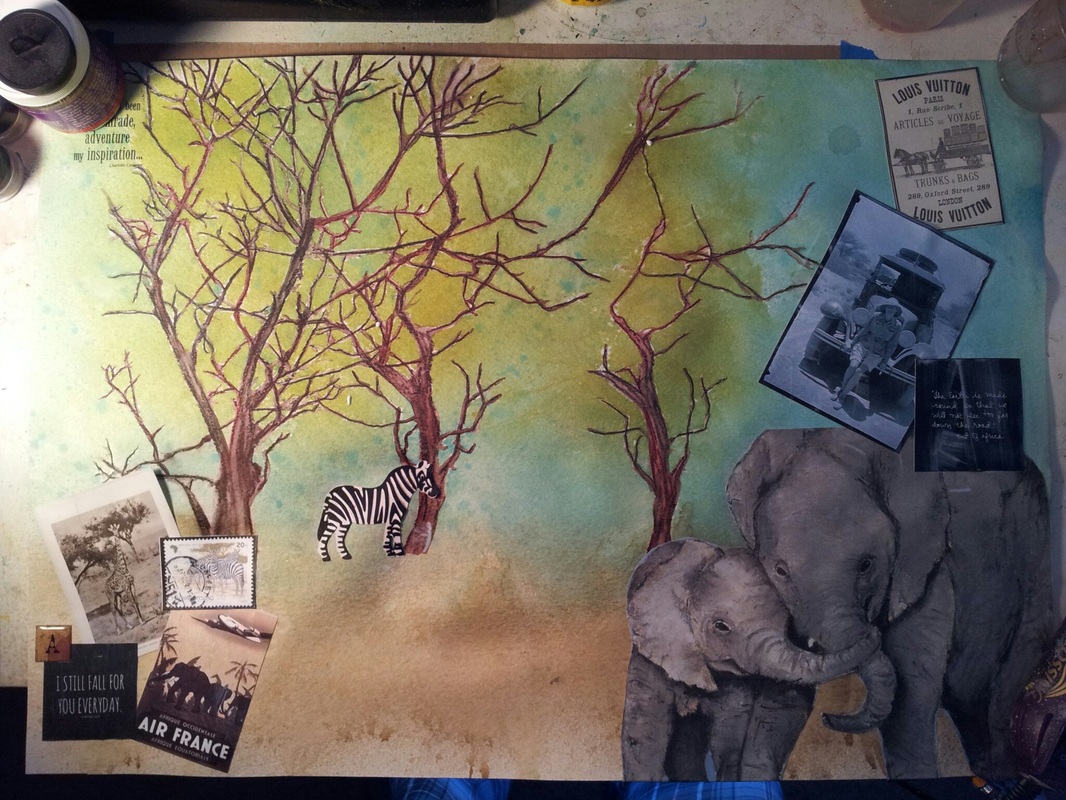
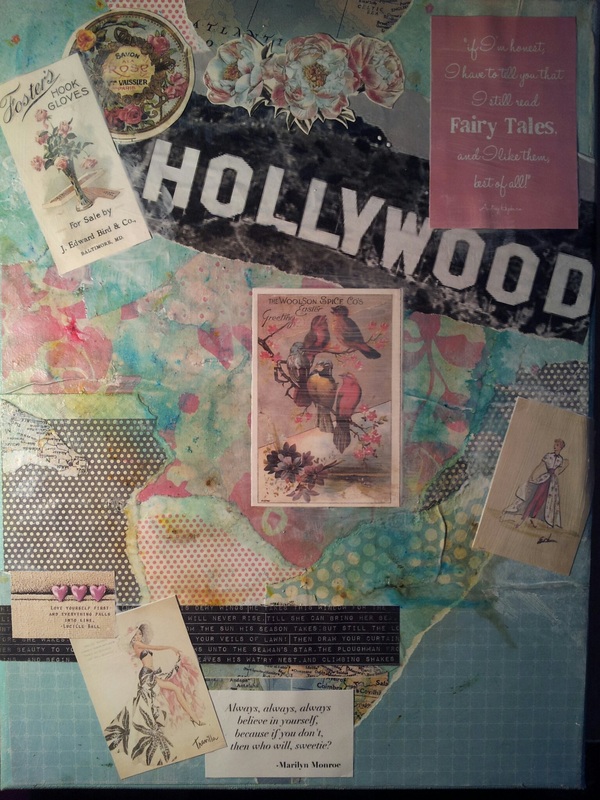
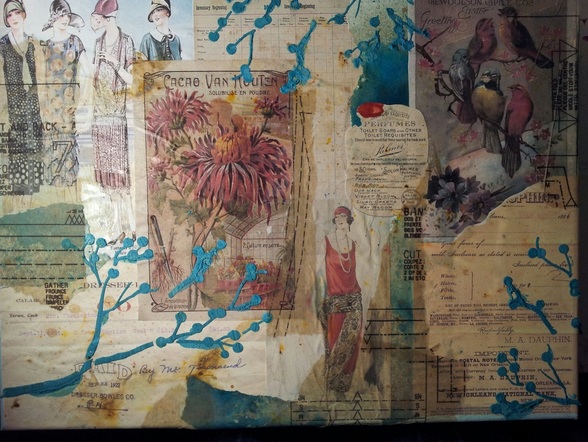
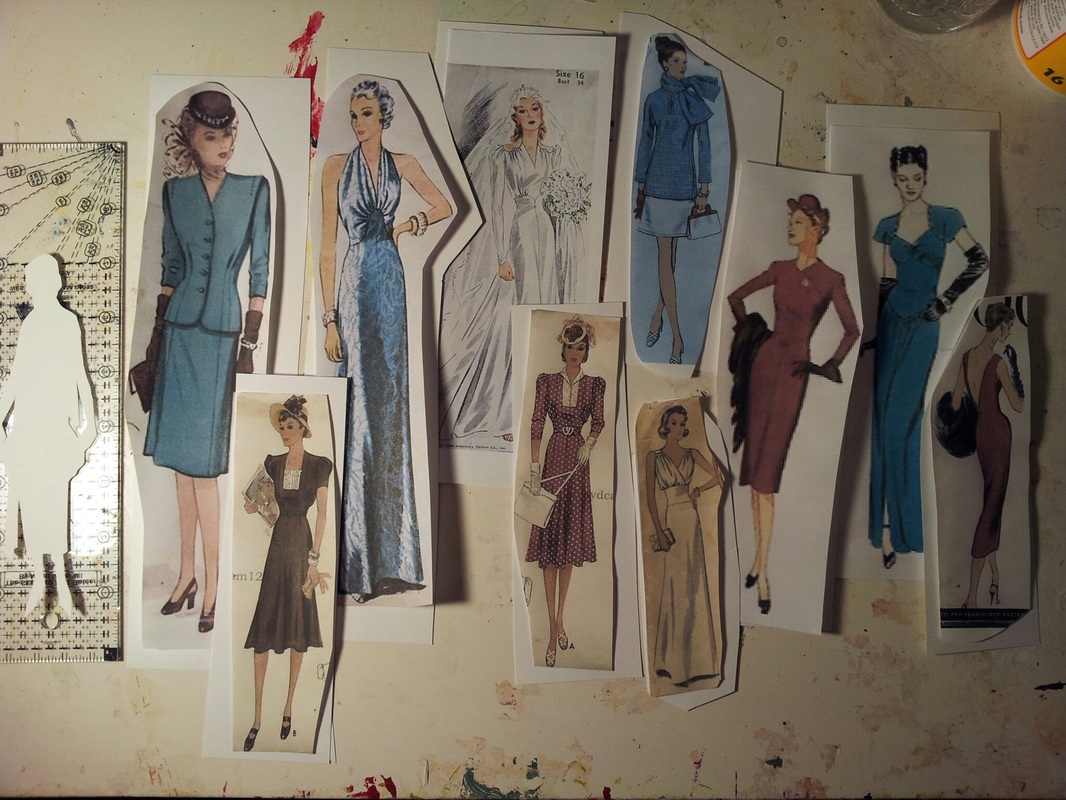
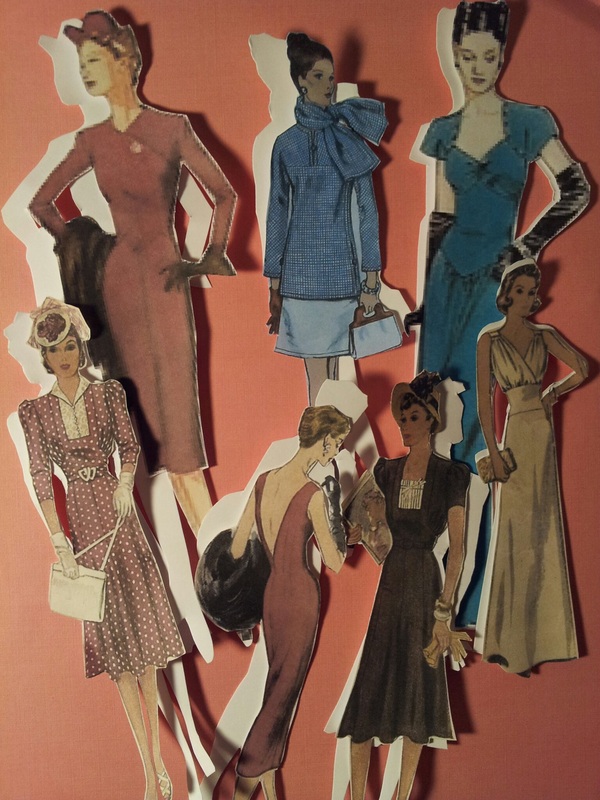
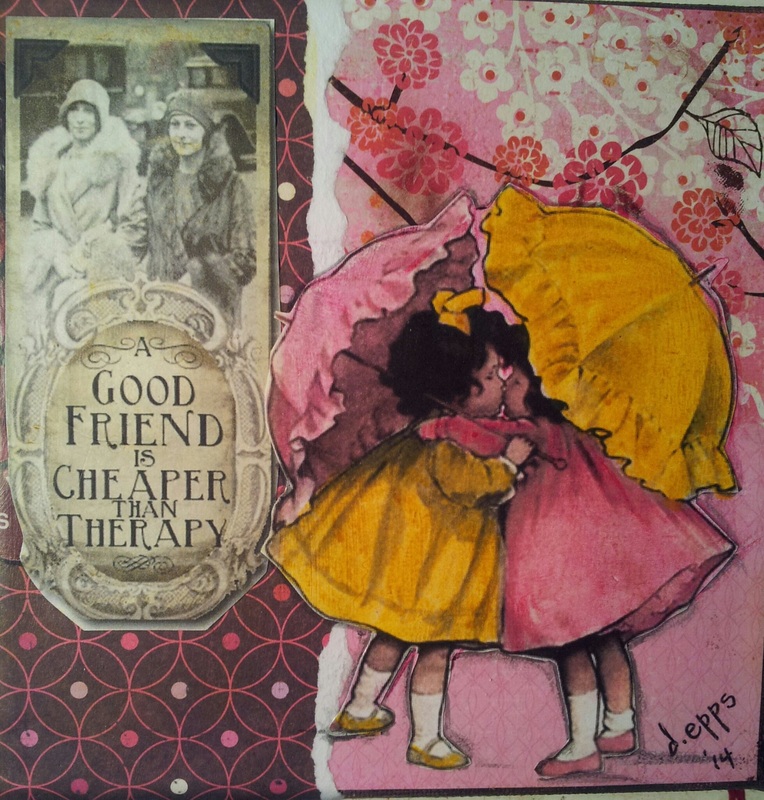
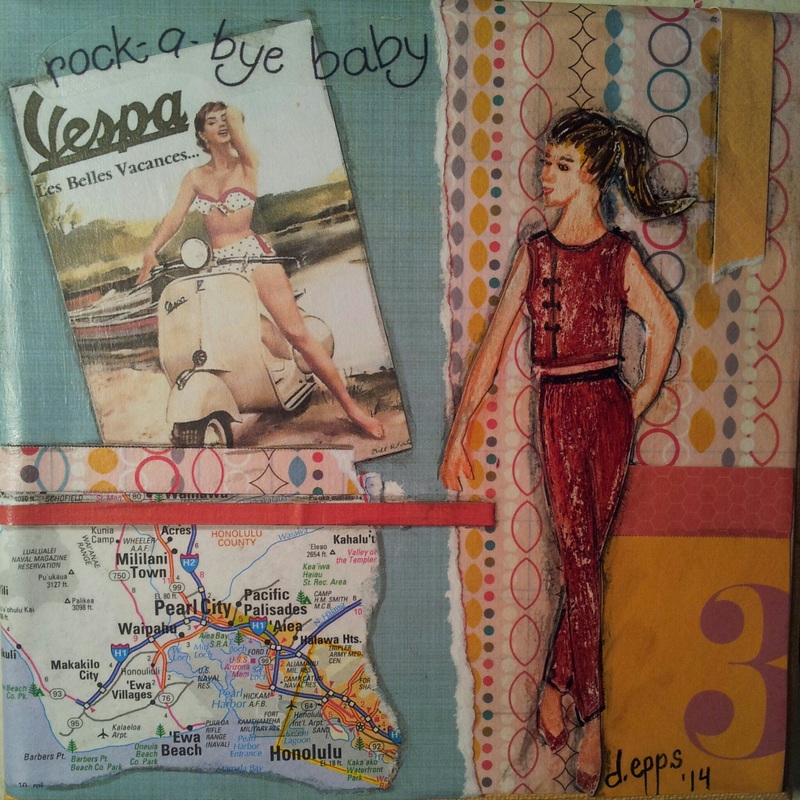
I pulled my ephemera and vintage pattern. I began gluing the layers making sure to add the rub-on before I added the red paper layer to the canvas. it is much easier to use the hard table surface rather than the canvas which lacks the support for the pressure needed. I also found some red felted stickers to add texture and more red.
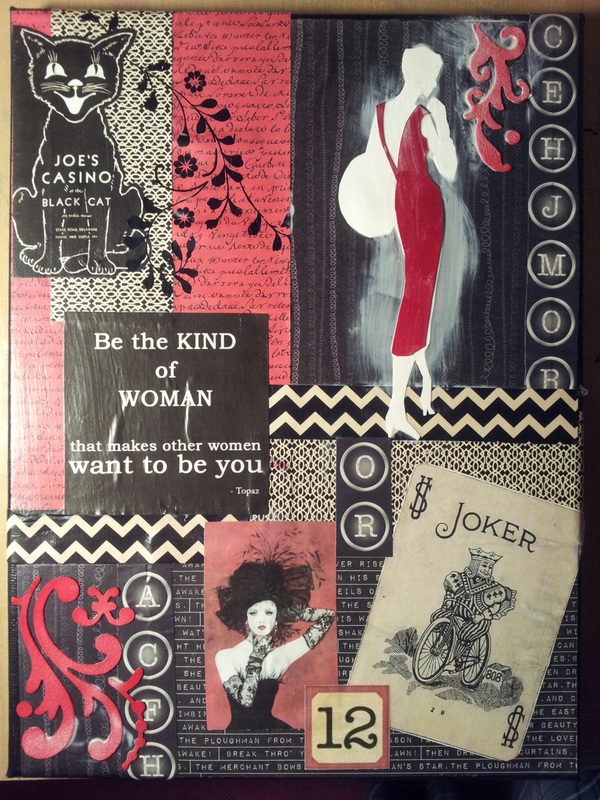
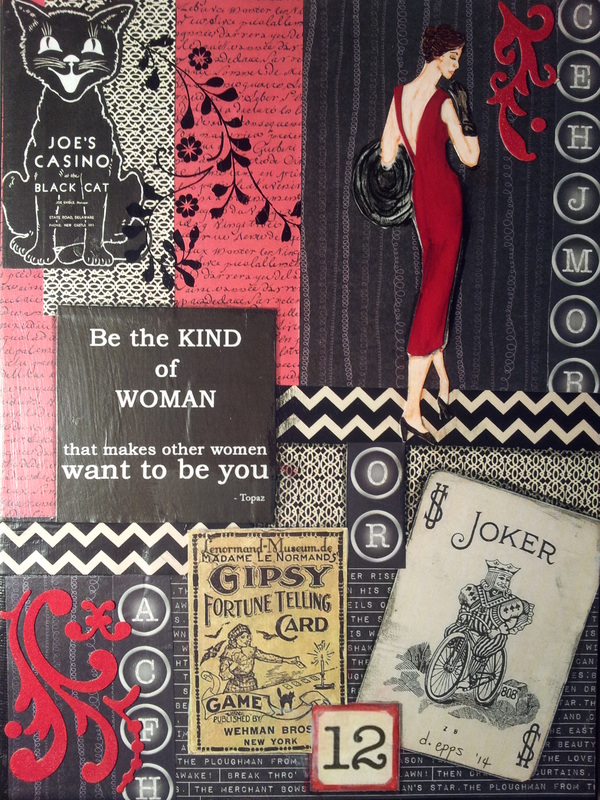
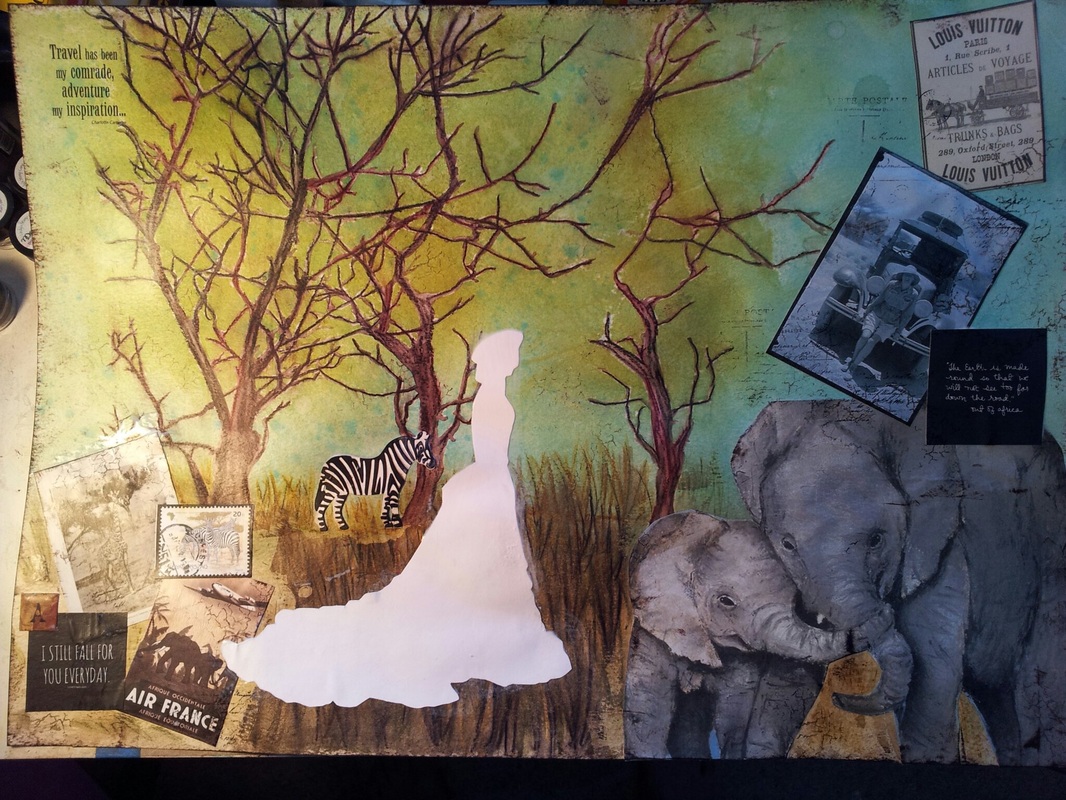
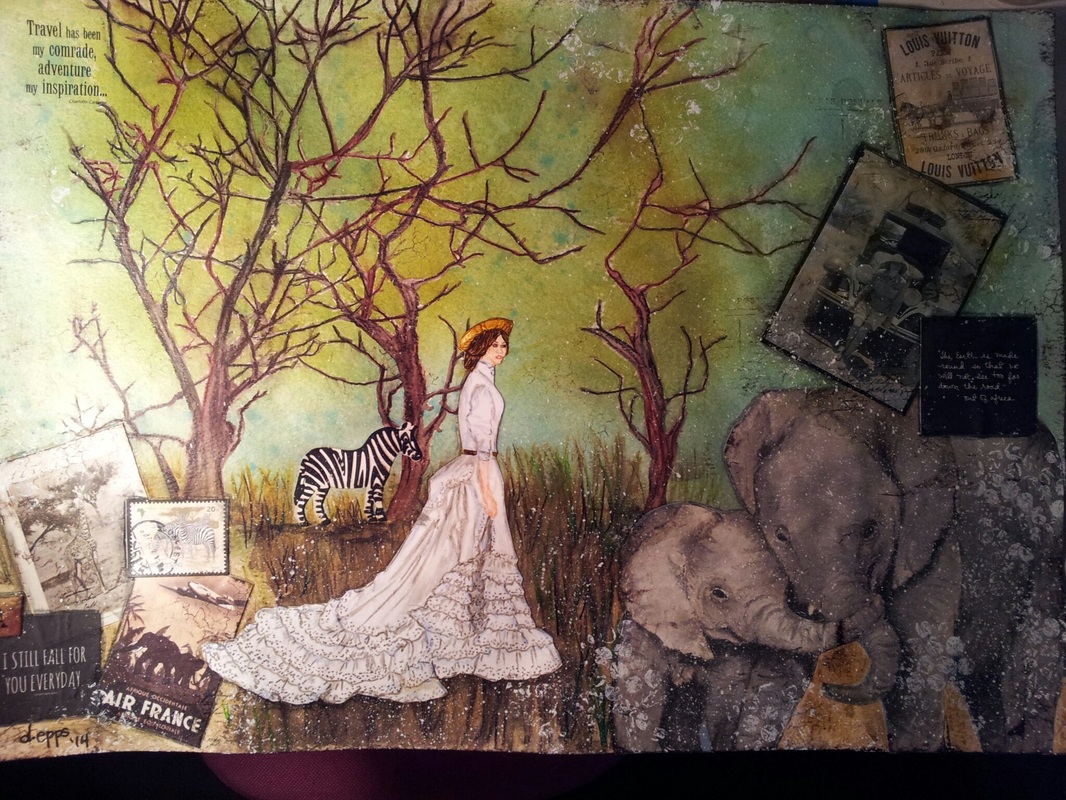
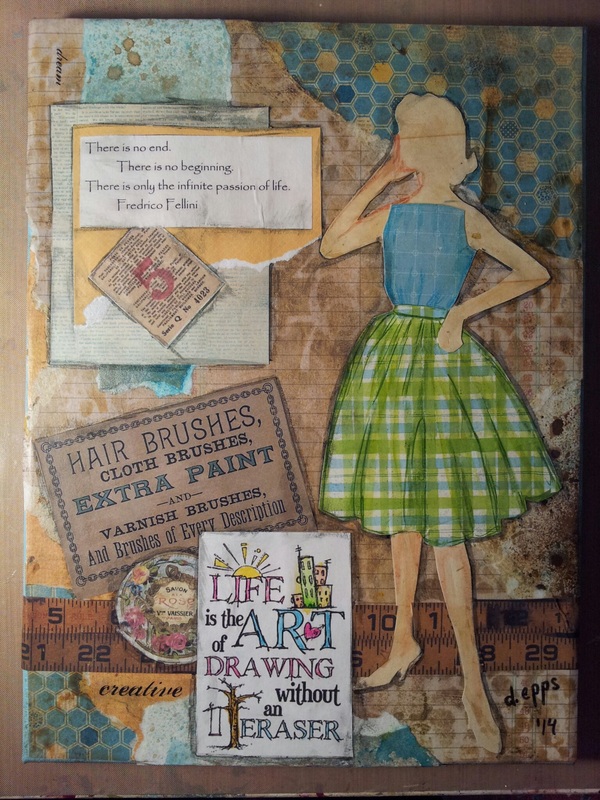
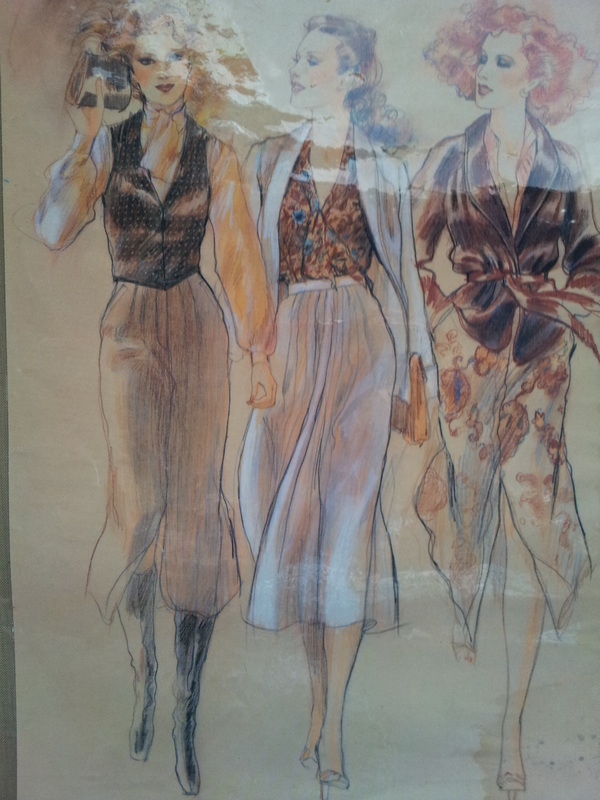
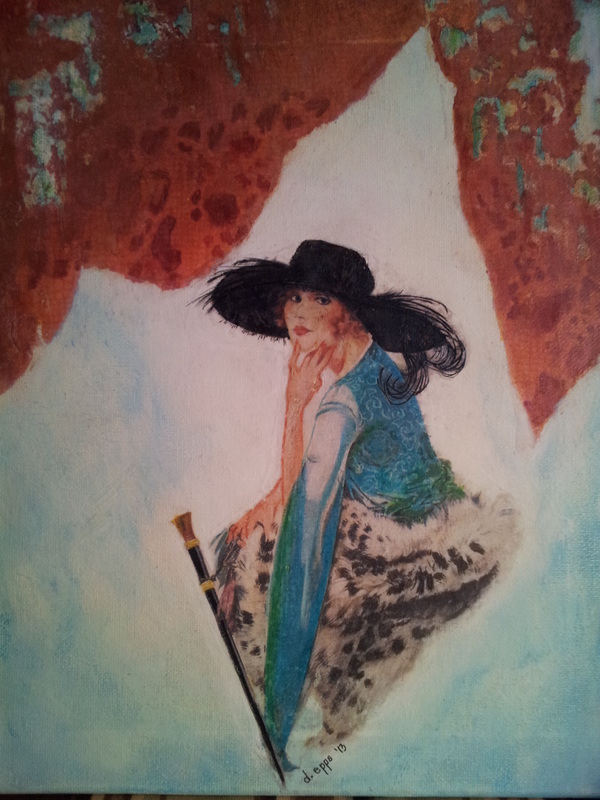
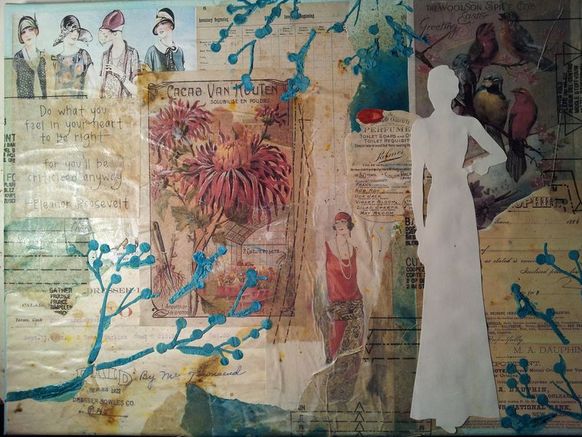
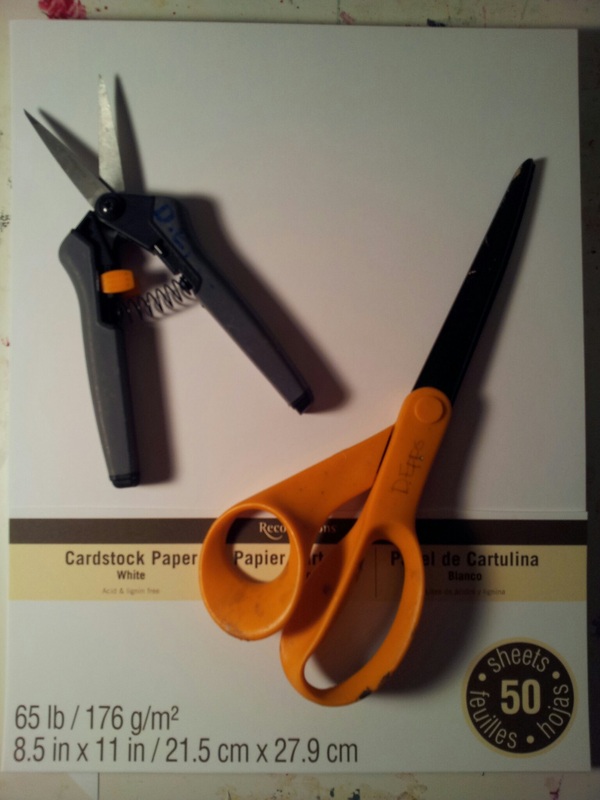
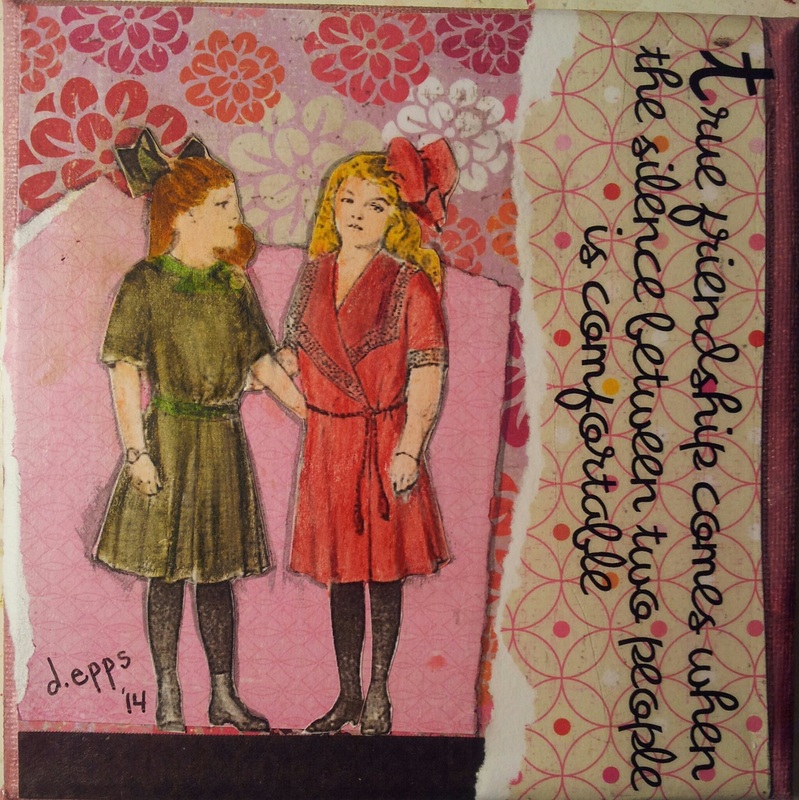
I cut out the dress in a rich red cardstock. The final step was to add drop shadows and paint in the skin, dress and fur details. I used a medium grey base then added fur texture with a dark cold grey and black using pitt pens. With a little planning, I had a finished canvas in about 2 hours.


 RSS Feed

