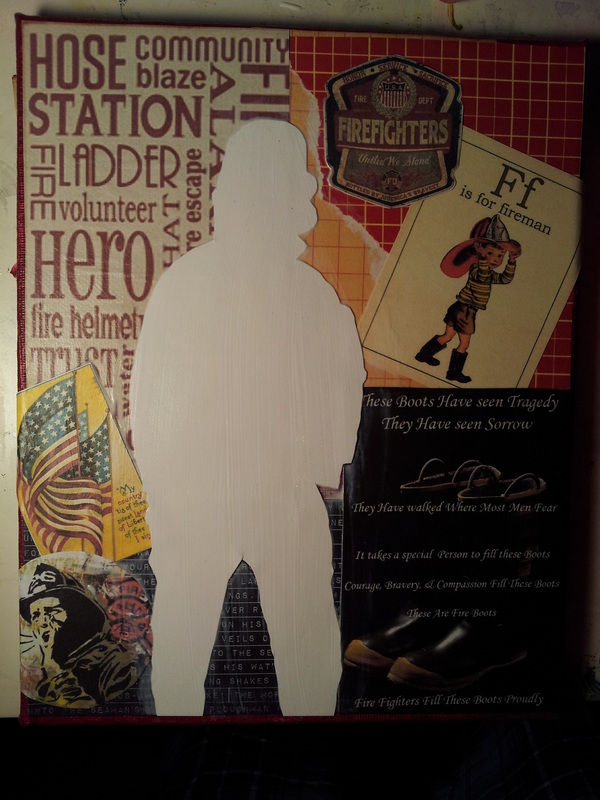
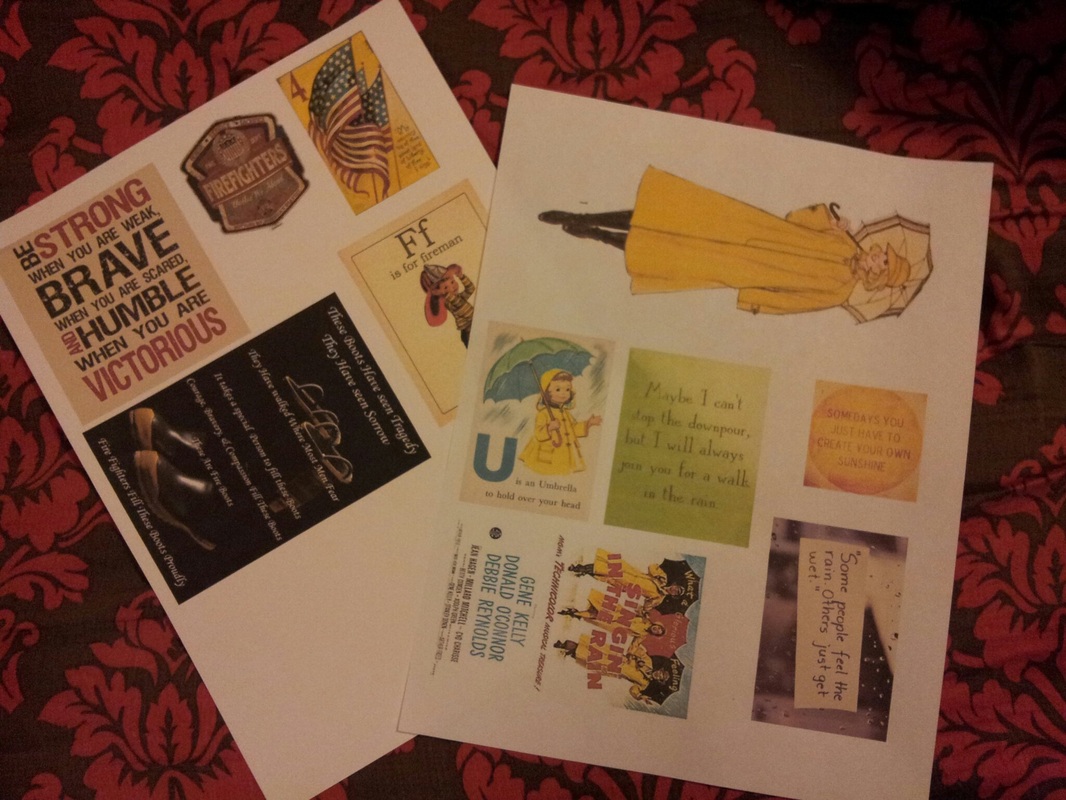
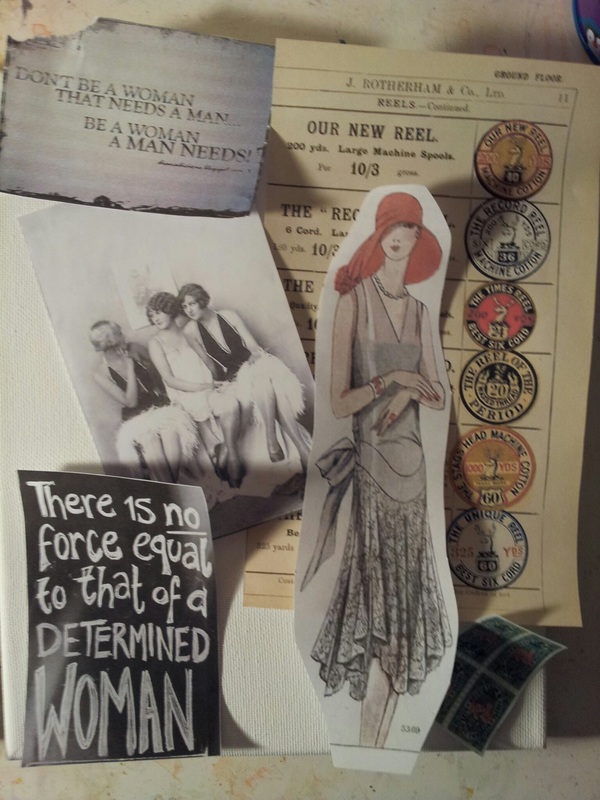
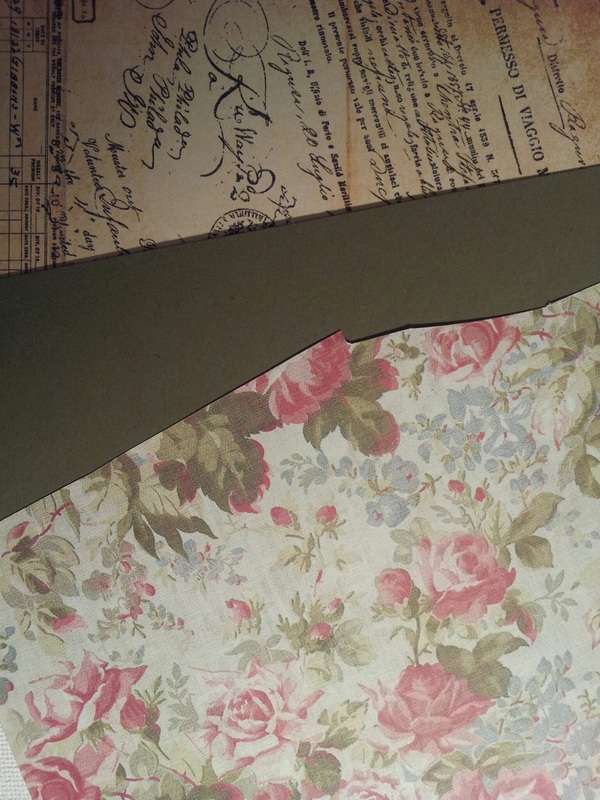
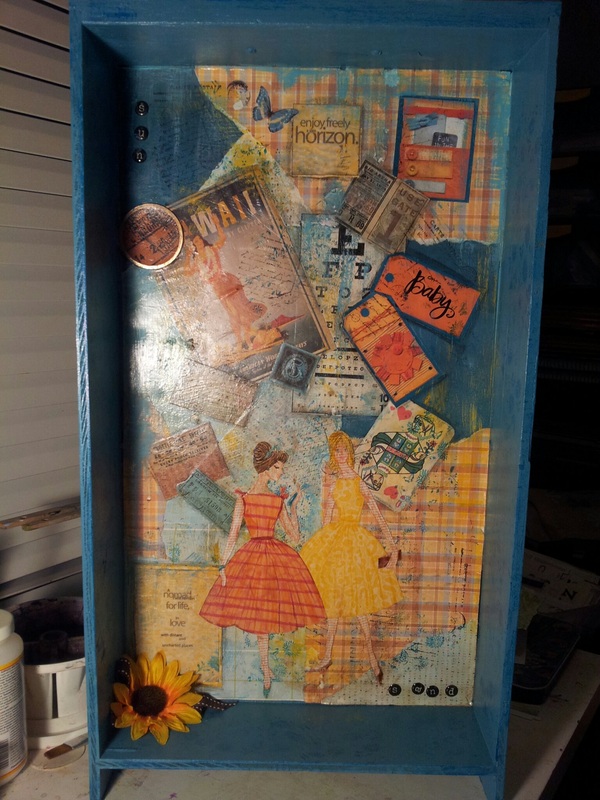
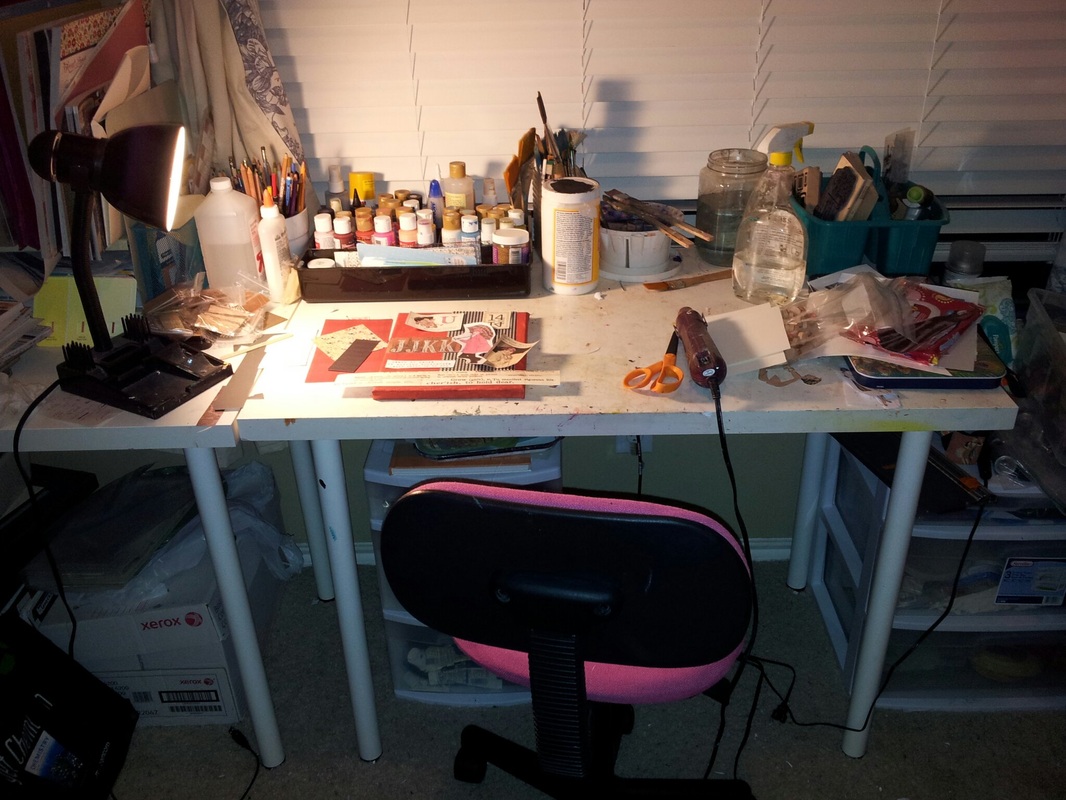
I documented my progress. Monday night I created design layout, printed ephemera and painted edges. 
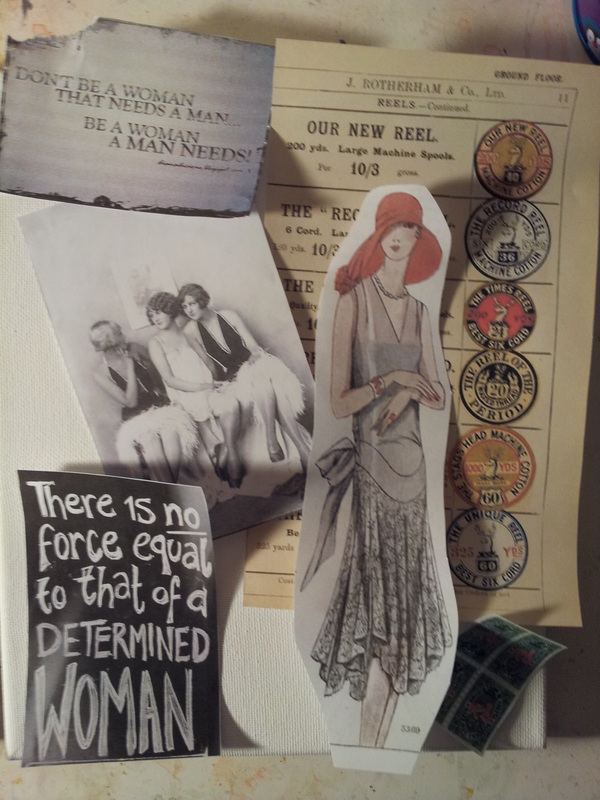
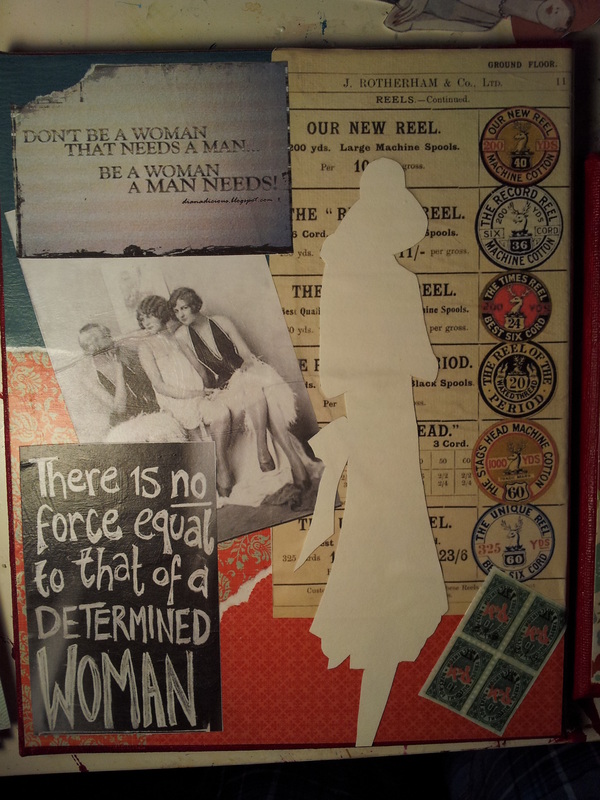
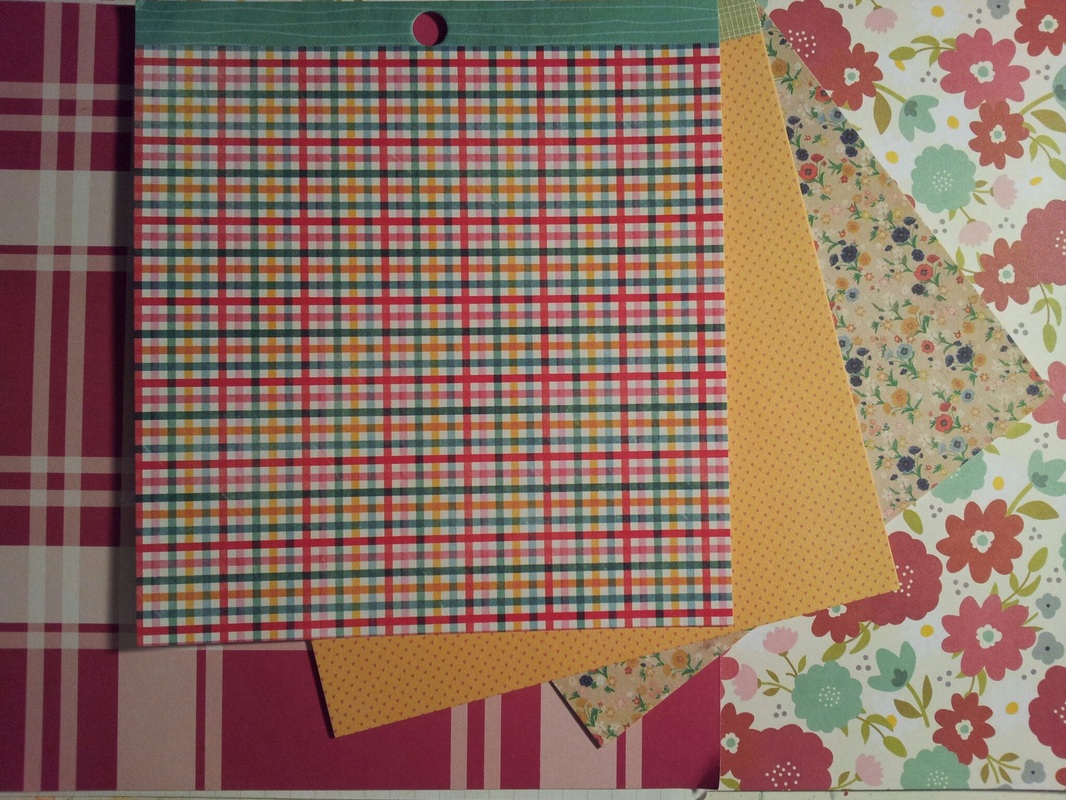
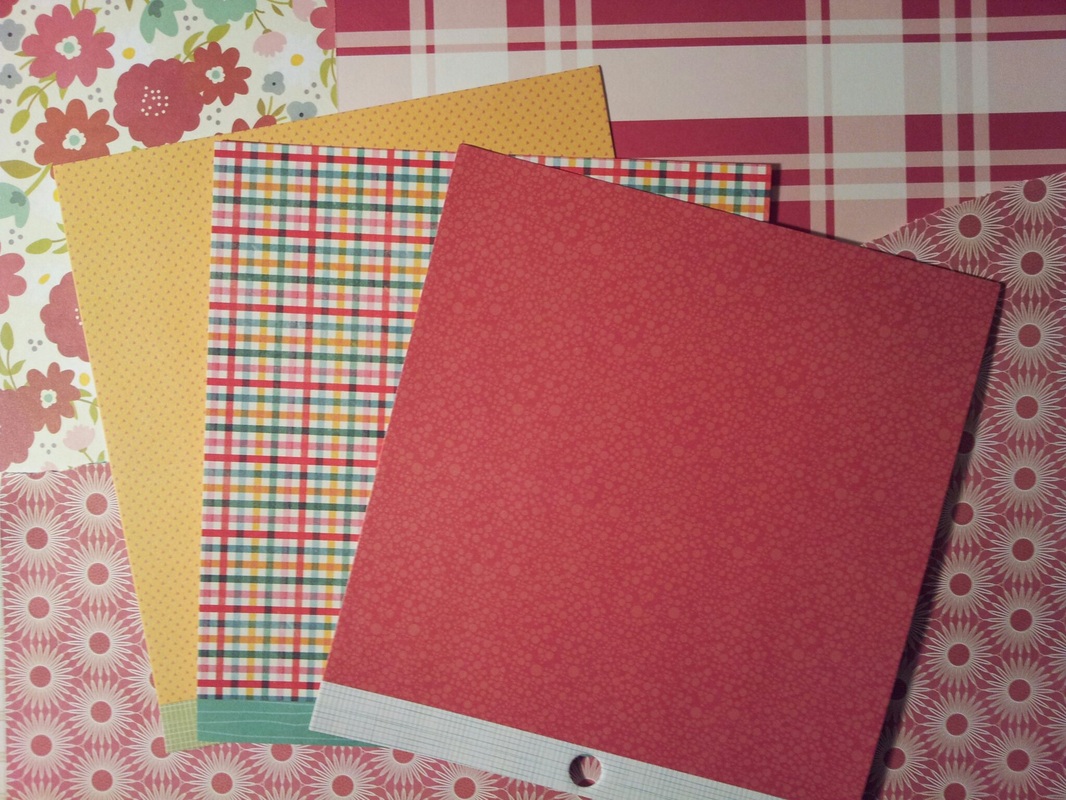
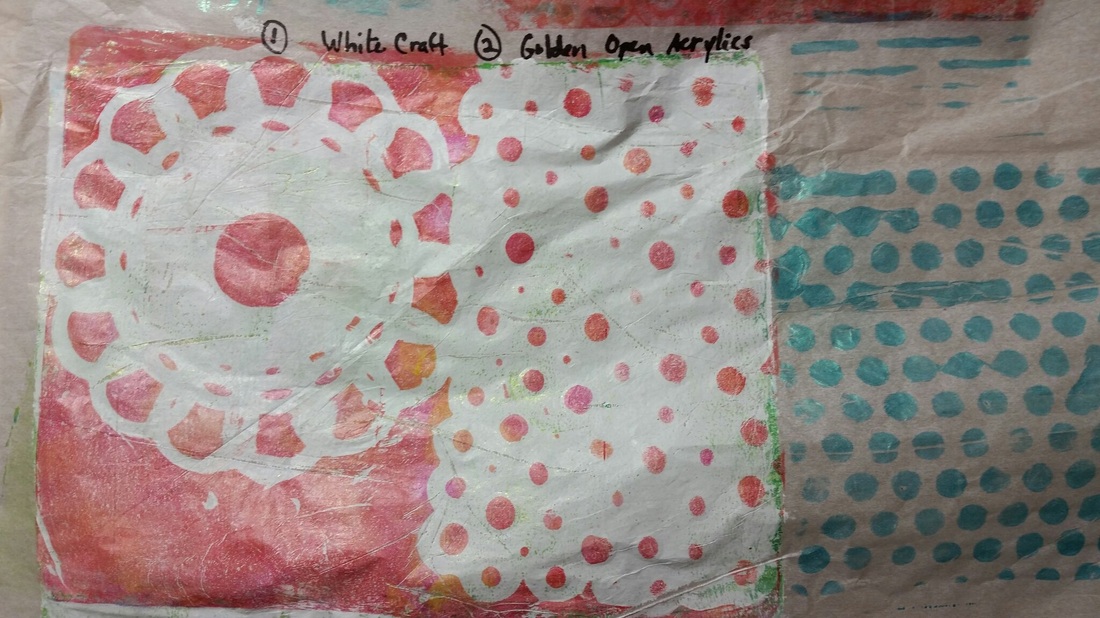
Tuesday morning I picked scrapbook papers and decopauged the layers on all three canvases. 
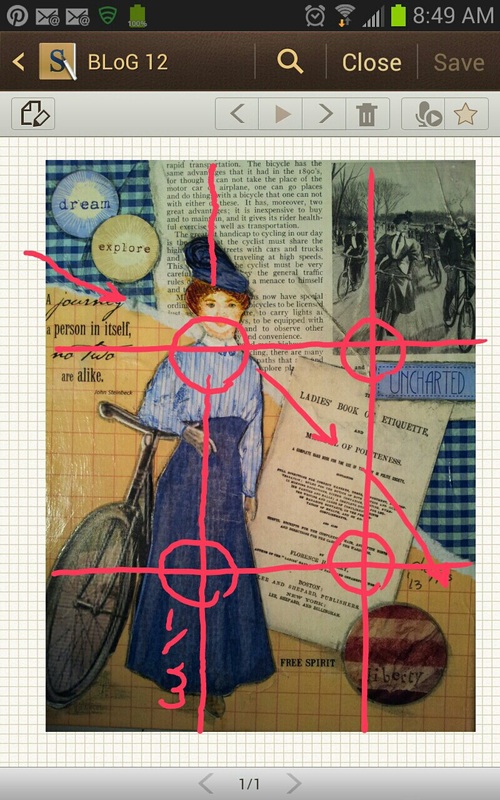
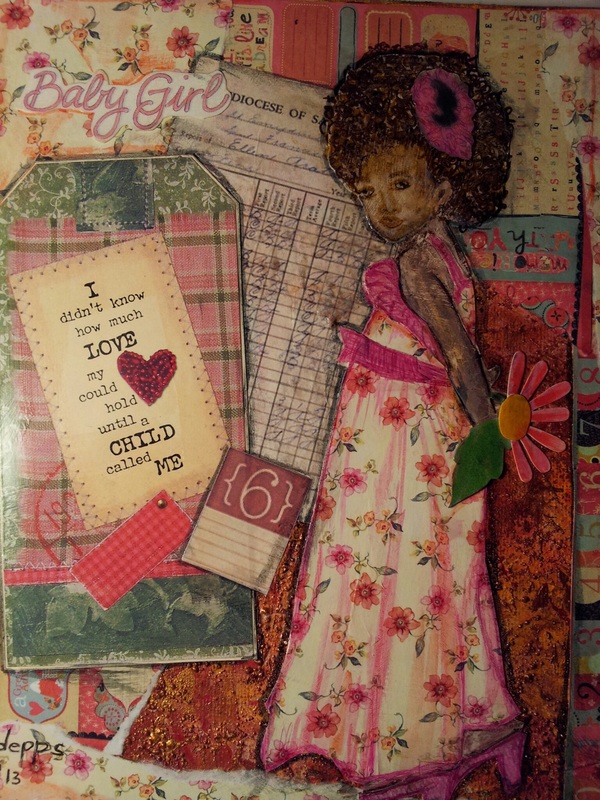
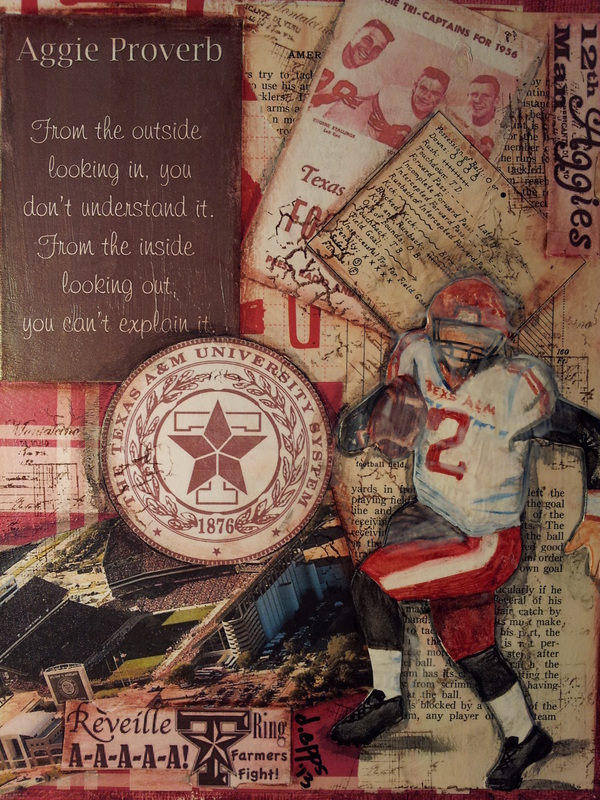
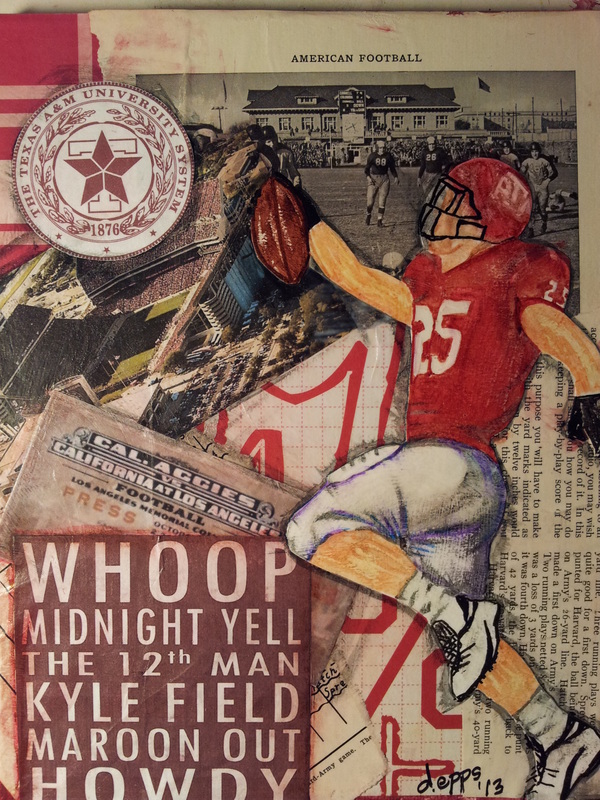
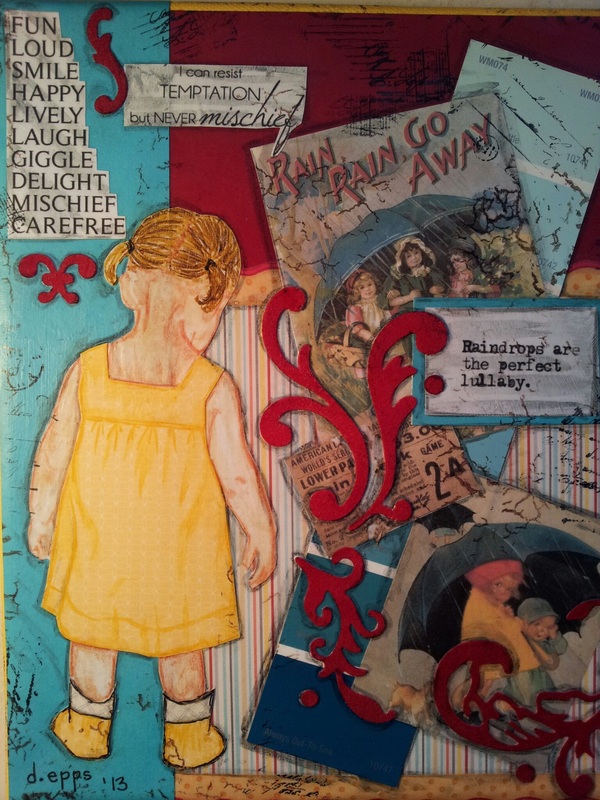
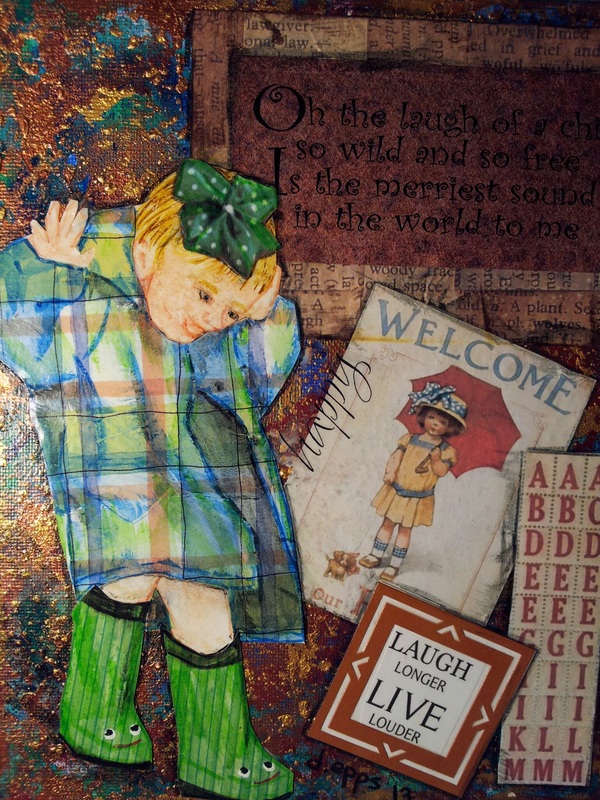
The next step will be to fussy cut each figure in white cardstock along with any clothes made from patterned papers. 
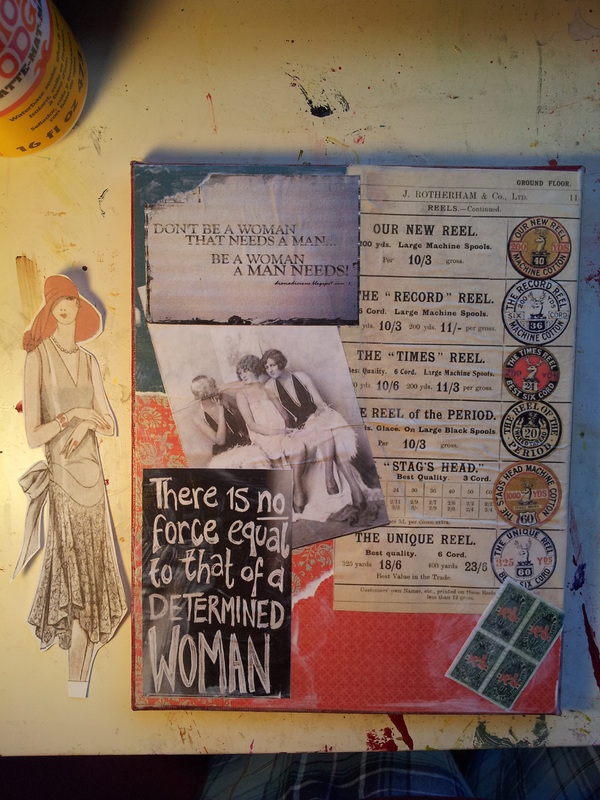
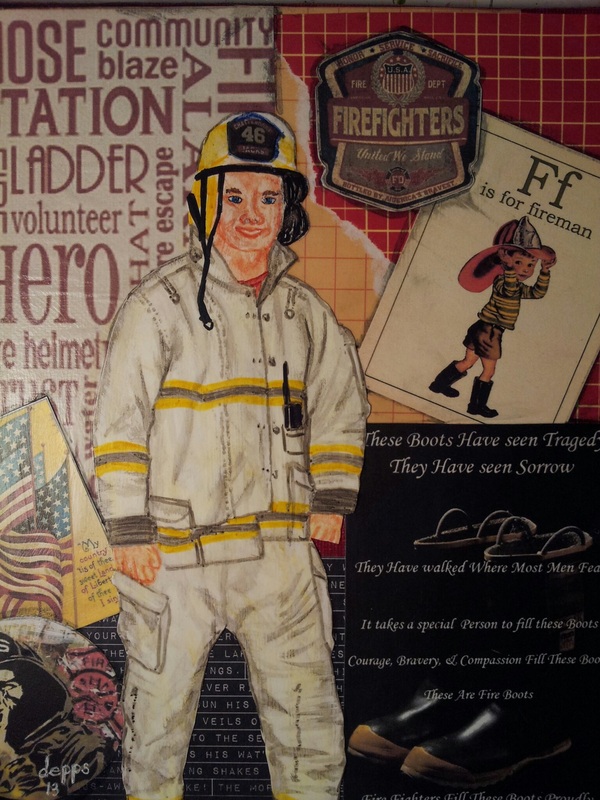
After these have a chance to dry over night, I will be able to paint in details using Faber Castell Pitt Artist markers. The india ink allows me to continue to add layers of modge podge and paper if needed. 
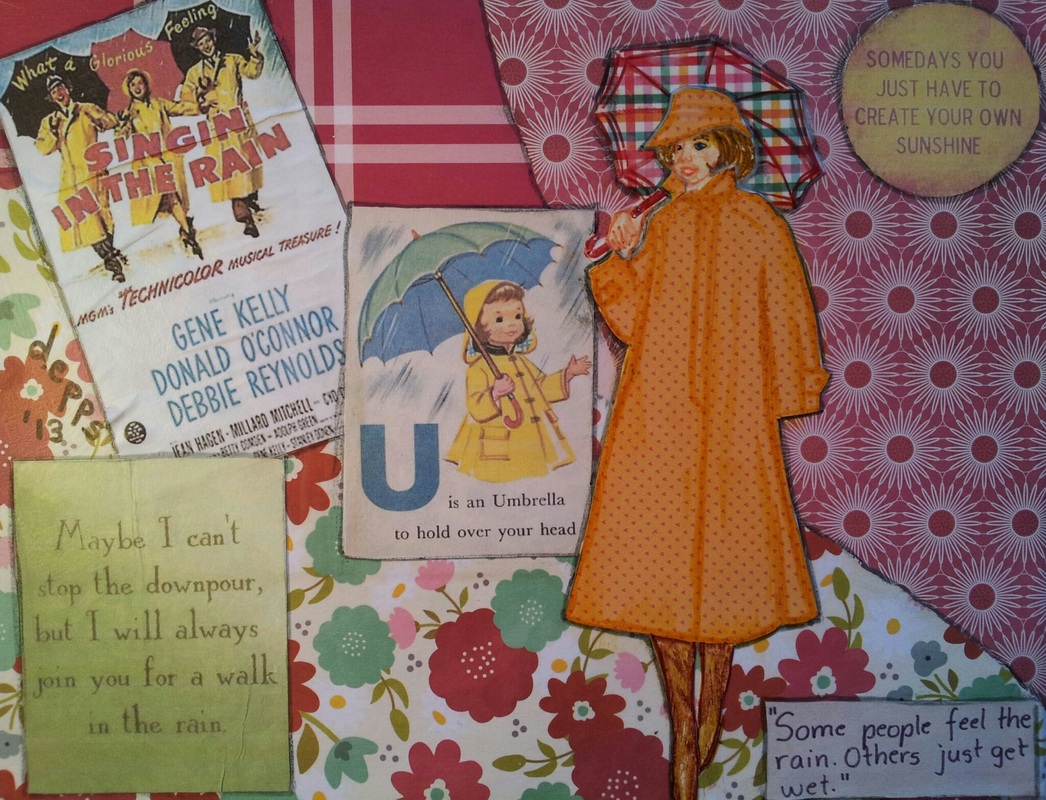
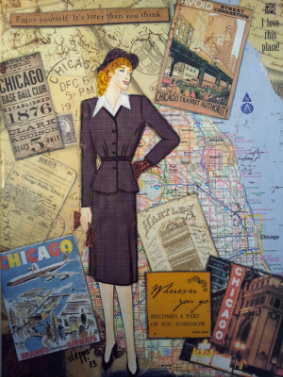
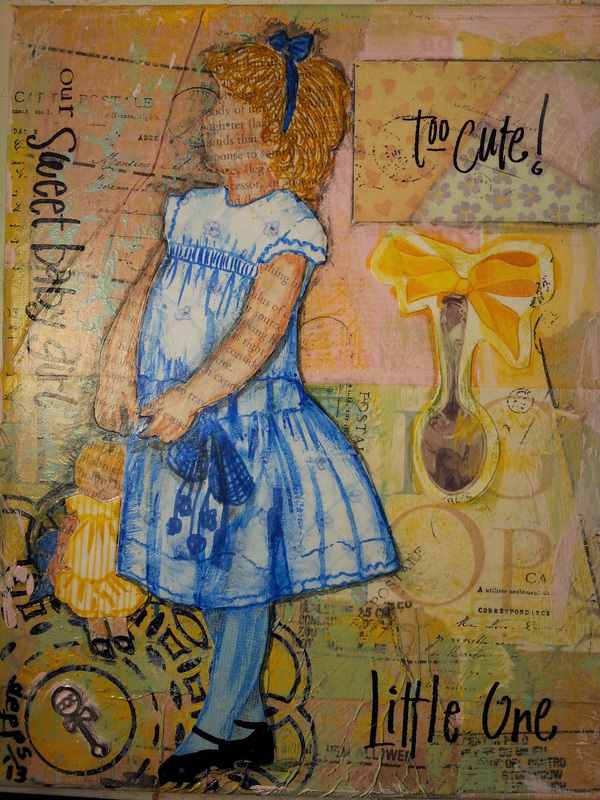
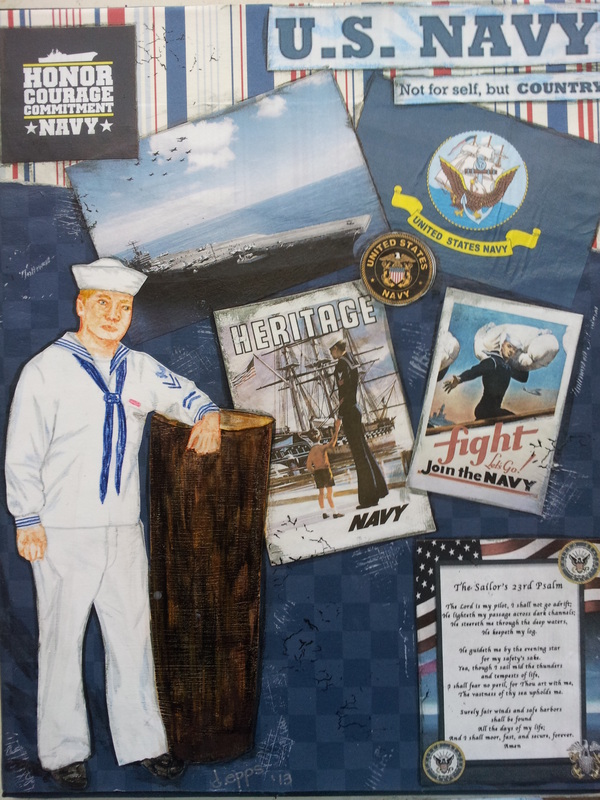
Wednesday 1 hour and 1 canvas finished. 
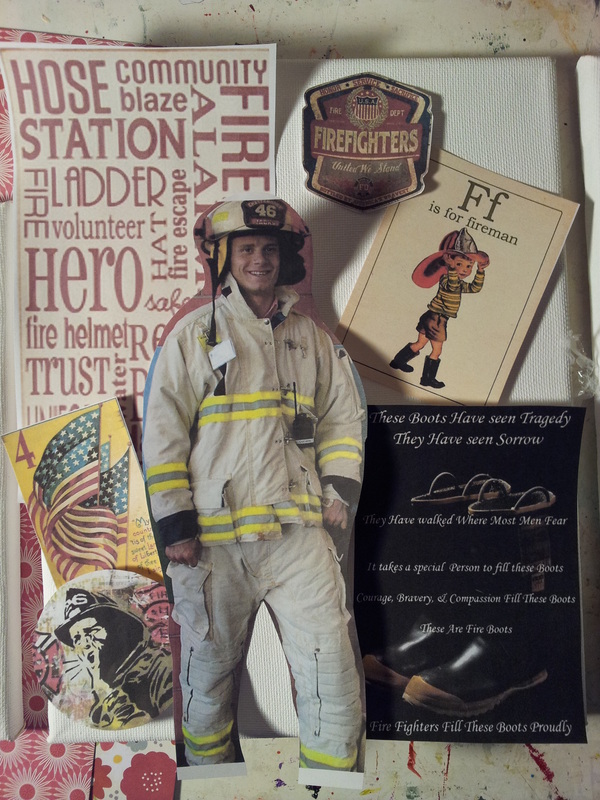
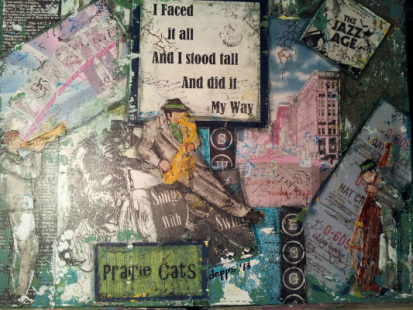
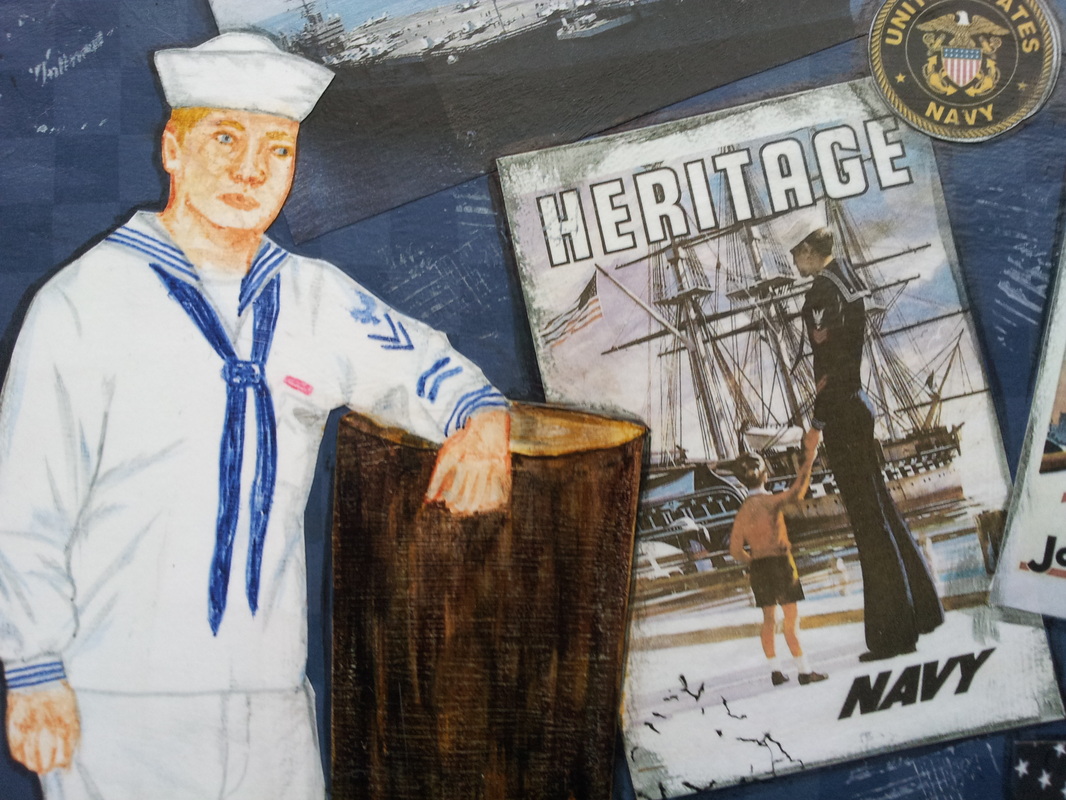
Thursday about an hour and half to paint the fireman. 
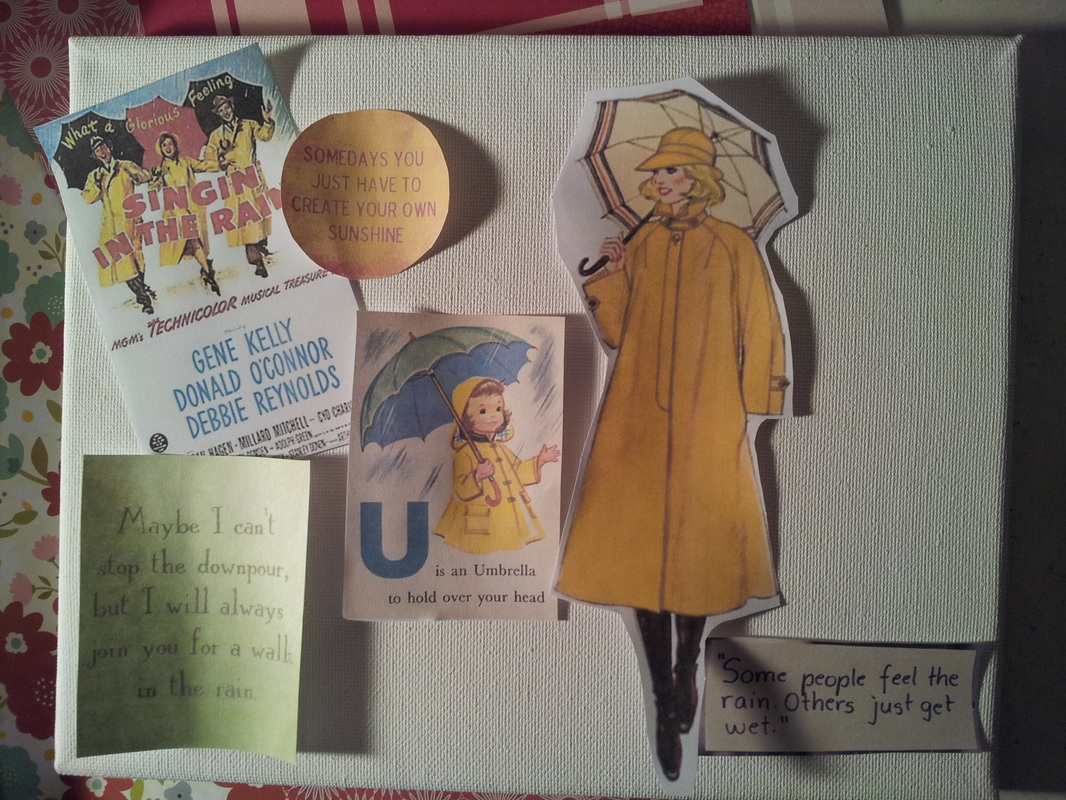
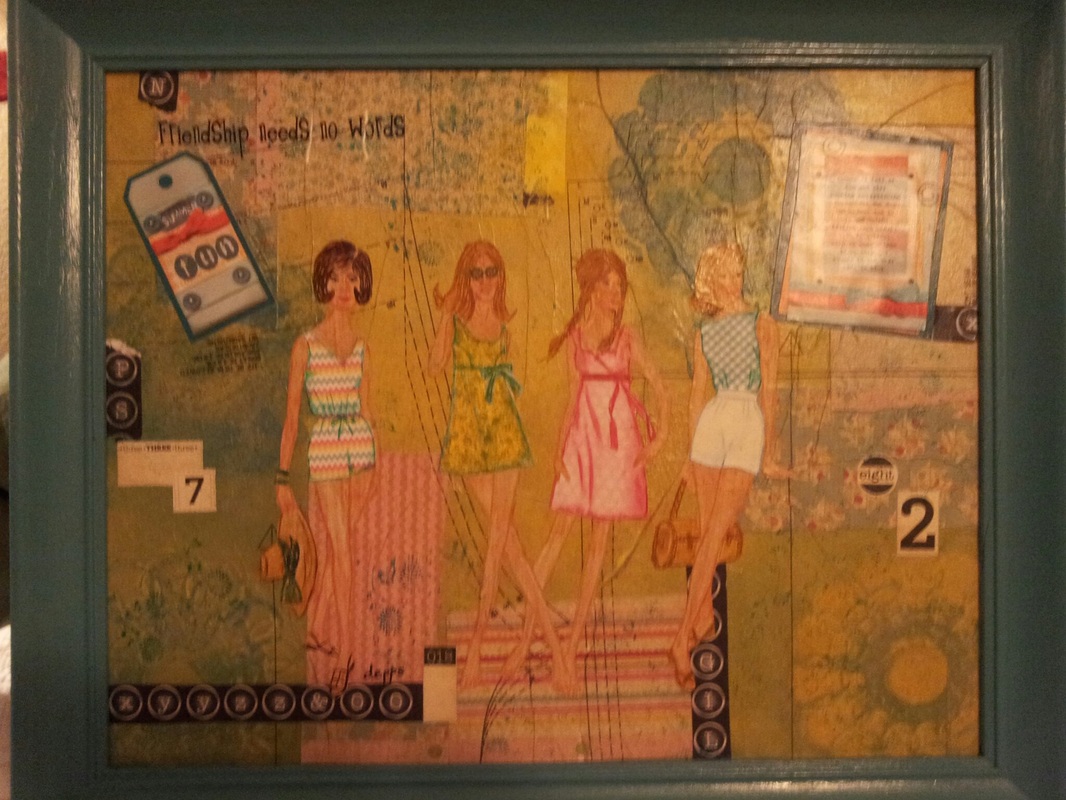
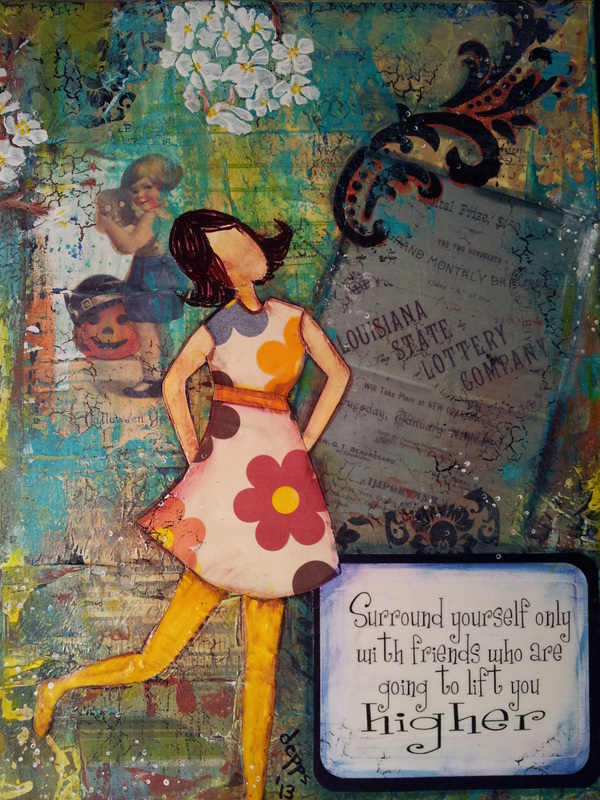
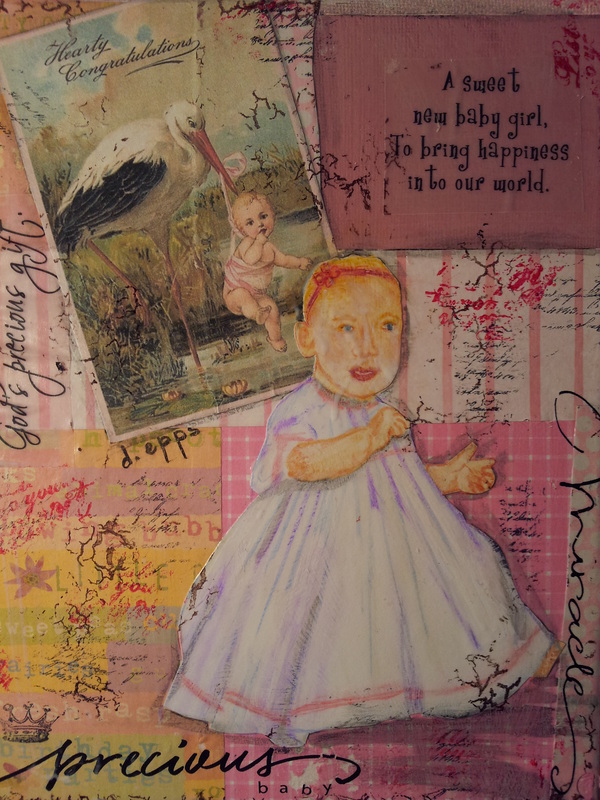
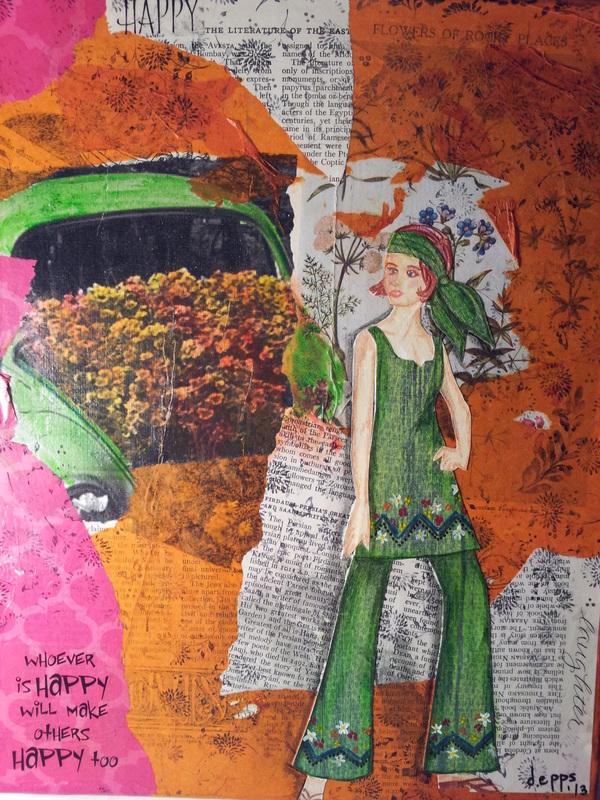
Friday 1 hour to finish painting girl on final canvas 
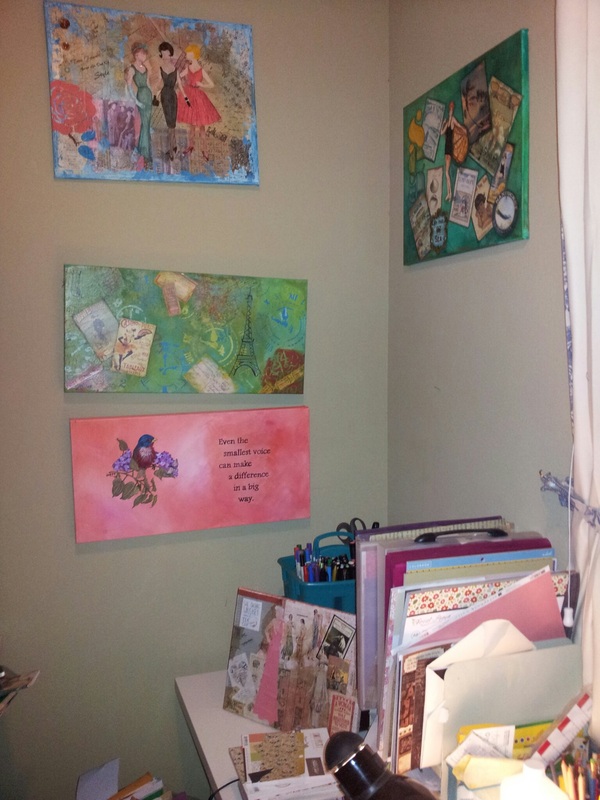
I have finished all three canvases and now it is time to get stock up on more canvases. My next project was printed at the same time as these 3 but I wanted an 11 x 14 canvas. So off to Micheals with my coupon I go! Now go and create!
3 Comments
Maybe it is the teacher side of me that likes to plan. One of the things I like to do to save time or make my time on pinterest and other websites researching more valuable is save any images to my dropbox or photo gallery on my phone. Most of my searches for ideas and free ephemera is done on my phone now day especially while I am waiting some where. Once I have a collection that I think I plan on usung soon I sit down with my laptop and save the images in a blank Word document. This allows me to print all the images at one time when I am ready to create. Before I print; however, I go through my paper stash finding background papers and stickers I want to use for several projects. I usually plan about 4 to 6 canvases. I place all the papers and images printed in an empty, clear 12 x 12 scrapbook page insert. I tend to paint the outside edges of my canvases and stop about 2 inches inside the perimeter before I begin decopauging the background papers. I often do a dry test and take a photo of my layout as a reference. Occasionally, I assembly line the canvases painting the edges, then gluing all the initial background layer. While these dry, I can cut my subjects and find any ephemera I want to add. Finally, I focus on the finishing details switching between canvases while layers dry. This has help me create enough canvases to fill out my inventory and participate in local art shows with less pressure. Whether you use any of these tips to create multiple canvases or just streamline your creative process, I hope you create art! I organized and printed for 3 to 4 smaller canvases and a larger canvas. I layed out three that will all have painted red edges. Tomorrow these will all three come together very quickly.
I love the aspect of mixed media that gives you the freedom to explore and break rules or use products in unconventional ways but I tend to avoid breaking principles of design and composition.
Placement of focal points and leading the eye through the canvas are important in creating successful artwork. I usually feature one main subject and follow the rule of thirds that many landscape artist use; however, I am working to divide my canvas into thirds vertically. I like to place my focal point on the 1/3 line leaving two-thirds of the canvas on the other side. I also tend to put my quote in one of the four hotspots. Where the imaginary 1/3 lines intersect. A balance of weight is achieved insuring a more interesting layout. I also try to be aware of how colors or patterns create visual weight. Finally, I tend to make sure I use an odd number of ephemeral pieces. Three and five are typically my tendency. There are many sources that discuss these principles in greater detail and probably with more accuracy. Take a moment a study some of your favorite artist's works or pieces that you have created. Even magazine ads are a great source for design lessons. Once I pick my ephemera, I look for dominate colors in the ephemera. color challenged? For the ephemera displayed in this article, I would use blends of pink and cream then pop in the green as my accent color.
Try picking two colors that blend together then crossing the color wheel to get your accent color that pops. be sure to keep values and hues similar. you can take any photo and use a program that converts it to paint colors. I use Chip It from Sherwin Williams. Another trick is check out the quilting section to pick up a color wheel. When I first collected most of my scrapbook paper stash, I was doing traditional 12 x 12 layouts. As I discovered mixed media she art concepts, I soon discovered 6 x 6 paper pads and that size could make a difference. Many of the 6 x 6 paper pads use a smaller scaled down print. This can really help if you are either working on a smaller canvas size or if you are using the print like I do to create fabric or clothing. You do need to check out the pads because there are some companies that just cut down the original 12 x 12 size into four sheets. Another paper tip is look for scrapbook paper at some of your discount stores. I have recently purchased most my new paper pads from TJ Maxx. This is where I got my first gelatos and Faber-Castell Artist markers. Ross, Tuesday Morning and Big Lots are other places that I have found great items like chip board letters or sticker. Don't forget garage sales, junk stores and flea markets are great places to find old patterns and books. I was able to purchase a set of children encyclopedias for only five dollars...wonderful text for collaging backgrounds. You can see the difference in scale betwwen the plaids and florals. This is a sneek peek of my next color palette but not sure yet what she will be wearing...rain maybe in the forcast with that beautiful plaid and bright yellow
Part of the fun working in mixed media is breaking the rules and exploring your creativity. Awhile back, I purchased a vintage end table for a DIY project and while getting it out of our little compact car, my husband broke off one of the legs. Essentially the table was now truely trash until I realized that I could use the drawer for a project.
I painted all the exposed wood turquoise and set it aside to dry. In the studio, I cut a large piece of watercolor paper to fit the inside drawer dimensions. I layed out my background design and began to decopauge my piece. The hardest part was getting it glue down in the back of the draw. I found that some patience helped and over night it had flattened out. I often give my background overnight to flatten before working on the final subject. I also like to bargin hunt in a few small town junk shops looking for old canvases and frames to upcycle. I only paid $5 for both the frame and canvas I used to create Four Friends So consider the unlikely for your next project. I had the honor of creating a custom canvas for cartoonist Jeff Koterba. While reseaching him and other real people, I realized that tying the background ephemera to the subject told a story.
We have all probably sat in an airport or busy area watching the crowd and imagining who they were...developing possible life stories about them. I started approaching my other works with that mind set. Find either a vintage pattern or photo for a subject. Now the fun begins...develop a story. Who are they? Now it is all about finding vintage ephemera that helps everyone see their character. Sometimes I reverse the process. For example, I realized I had several Chicago and New York images. I decided that my "Chicago Gal" was a young, independent woman who moved to the big city to work in publishing during the late 40's. Now NY was a little easier when I found my "That Girl" in her modern 60's outfit. I used maps as my initial layer then built up finally find quotes that fit. Call me crazy but I think it helps make the work more cohesive. We have lived in larger houses with enough room for a den or office space. I used to craft occasionally but never was very productive.
Recently we downsized to a 1 bedroom apartment so that my husband could work on his Master's degree. Our bedroom had a small nook, about the size of a narrow walk-in closet or bathroom. I changed jobs bringing home massive teaching materials to store during the summer. The visual clutter drove me crazy so I hung curtains to make it disappear. Fall came and most of the stuff went to my new classroom but I decided to add a table or two to make a desk. I moved in my craft and art supplies and soon realized I had created a small studio. In the last year, I have produced more art. Enough to fulfill a lifelong wish to participate in art shows. Everything is within an arms reach, can be left sitting out and I am surrounded by a gallery of my work. I am not sure I would add space even if I could. I realized that I had not made it a priority and could have carved out a nook long ago. about 1 year ago, I stumbled on art tutorial YouTube videos by Christy Tomlinson featuring her she art. I was drawn to the use of scrapbook papers to achieve color and pattern. I found a canvas and got started. She was very folksy but I was hooked.
The next canvas I decided to use my paper piecing techniques from scrapbooking with vintage sewing pattern images. I knocked out three or four more canvases. Each time I showed my husband he said, "looks great, but where is her face. " So off I went to conquer faces using the Faber Castell markers. I am still working on perfecting my faces, especially the noses. During my first art show, a colleague's husband comment was, "really cool, but not really for men." So challenged again, off I went in to my studio to find a "more masculine subject matter." Texas Christian Football was my first attempt. Within hours of posting, I had three football commissions. Later this lead to a piece focusing on Marine Corp and Navy. Suddenly, I realized the potential for personalized commission projects. In the end, I had developed my own style finding a unique niche in the market. Since I was a very young child, I have been drawn to color and interested in creating art. Around the age of four, I received the large box of crayons with the sharpner (just introduced by Crayola in early sixties). The next day I sat down peeled and used the sharpner to shave every color crayon to the end. I sat on the sidewalk spreading the shavings in a circle then sat back to watch it melt into the cement. It looked like a kaleidoscope or stain glass window. Unfortunately, my Father was not as proud of my art and complains about having to explain the stain while selling the house to this day.
I am still drawn to creating interesting pops of color and the use of scrapbook paper into my mixed media art has allowed me to add prints and patterns like the fat quarters of fabric I gather to make quilt tops. Below is a series of brightly colored little girls playing in the rain. Each canvas has one distinct print that lead to the color palette. |